18 Acoustic Podcast Room Ideas for Perfect Sound Recording
You sit down, hit record, and deliver the best podcast intro of your life. But when you play the audio back, you hear a hollow, echoing mess that sounds like you are trapped inside a tin can. We have all been there. Achieving broadcast-quality audio at home can feel like a massive hurdle, especially when dealing with bare walls and hard floors.
But you do not need to spend thousands on professional studio builds to get crisp, clear sound. Whether you rent a small apartment or own your home, strategic design choices can completely transform how your microphone captures your voice.
In this guide, we will explore 18 practical and stylish acoustic podcast room ideas. You will learn how to tame unwanted echoes, block out background noise, and design a recording space that looks just as good on video as it sounds through headphones.
Essential Wall Treatments for Sound Absorption
Bare walls are the biggest enemy of good audio. Sound waves bounce off flat, hard surfaces, creating the reverb that ruins your recordings. Here are the best ways to treat your walls.
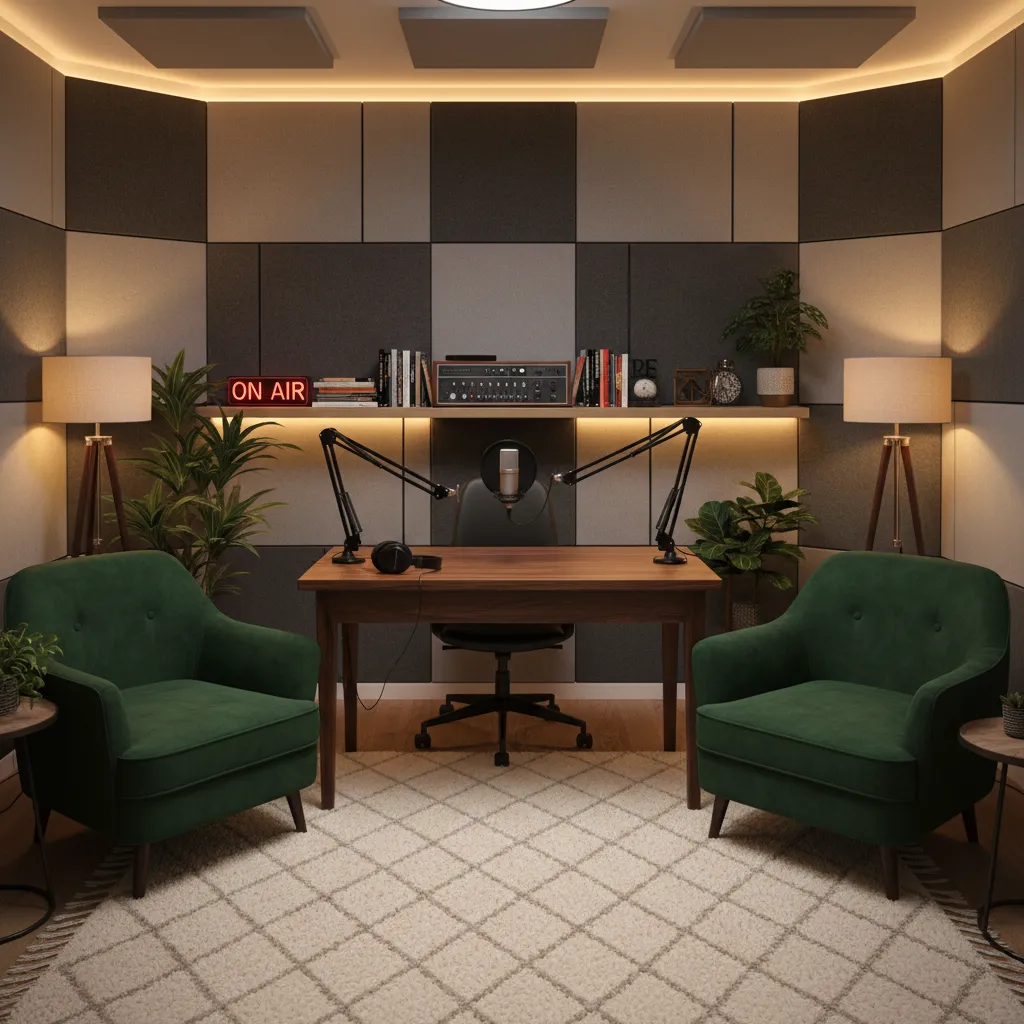
1. Install Acoustic Foam Panels
Acoustic foam panels are a podcasting staple for a reason. They catch high and mid-frequency sound waves before they can bounce back into your microphone. Arrange them in a checkerboard pattern behind your desk and on the walls directly to your left and right.
2. Hang Heavy Soundproof Curtains
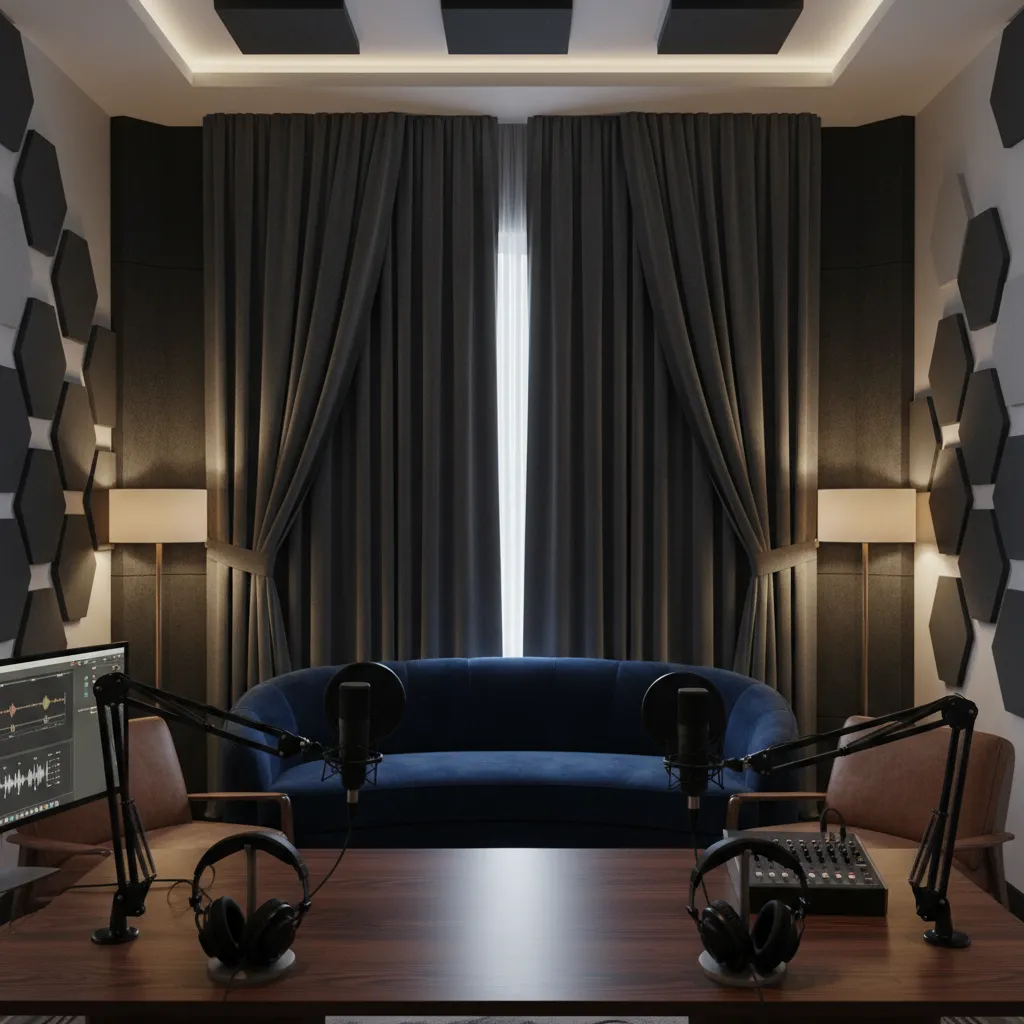
Windows let outside noise in and reflect inside noise back at you. Swap out thin blinds for thick, heavy soundproof or blackout curtains. The dense fabric naturally absorbs sound and instantly warms up the room.
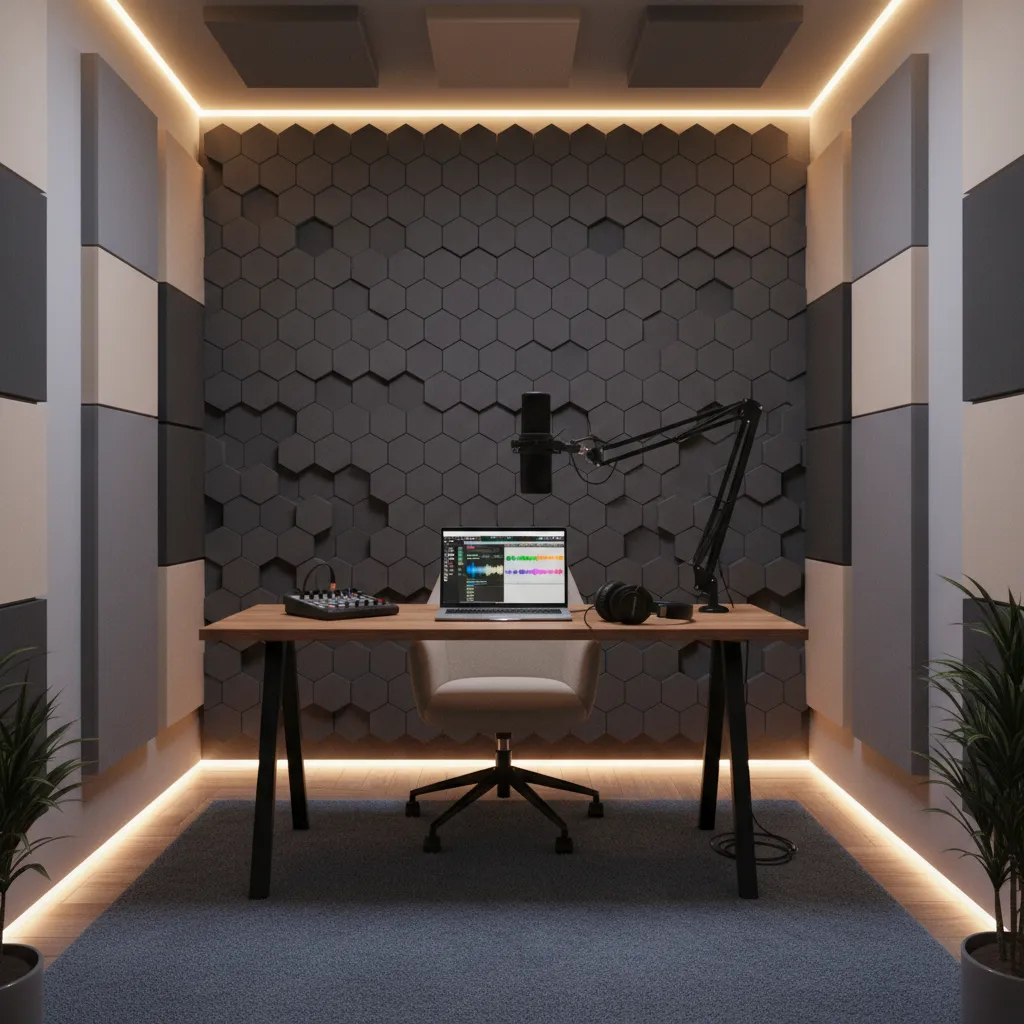
3. Use Fabric-Wrapped Acoustic Panels
If jagged gray foam does not fit your aesthetic, try fabric-wrapped fiberglass panels. You can customize the fabric to match your room. If you are exploring the Best Office Paint Shades, you can easily find panel fabrics that complement your chosen wall colors.
4. Build a DIY Canvas Art Trap
Buy large, cheap canvas prints and stuff the hollow backs with old towels or dense foam. Hang them on your walls. They act as hidden sound absorbers while keeping your room looking like a stylish living space.
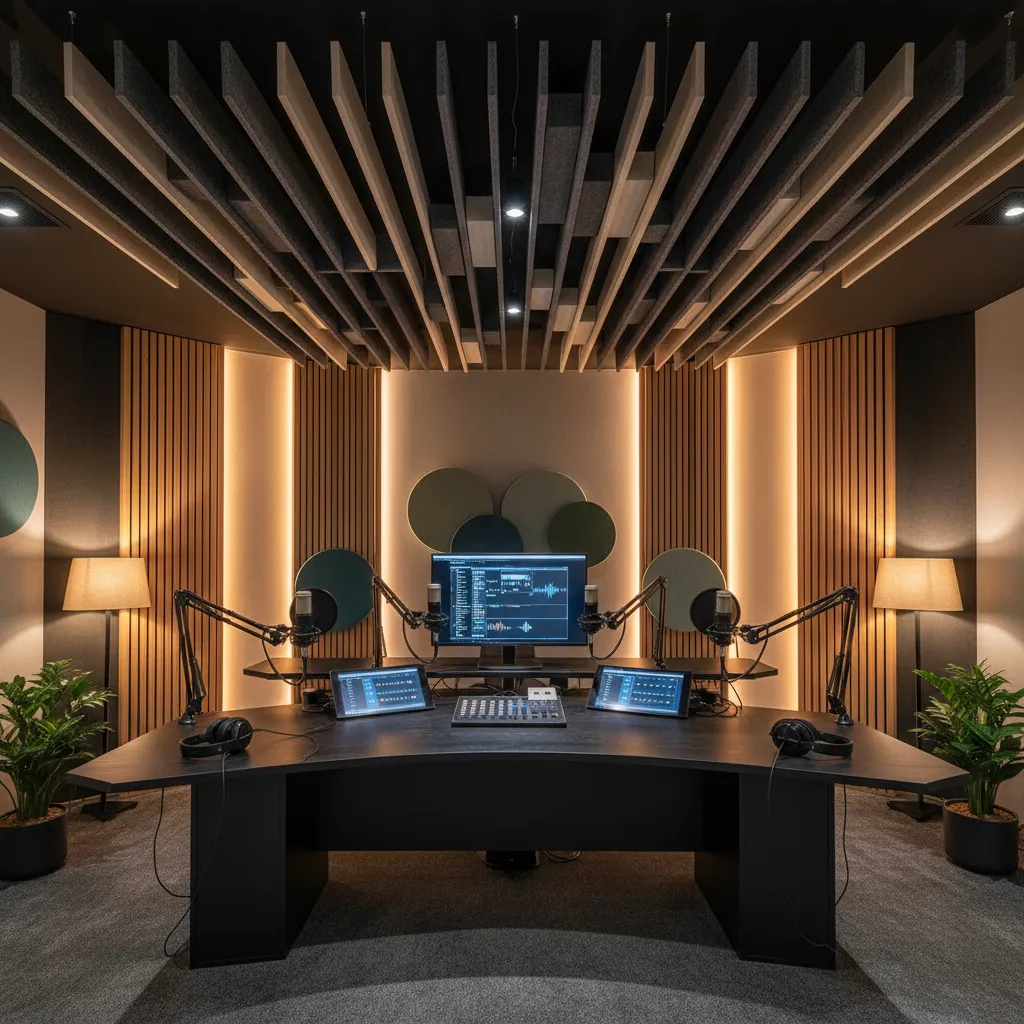
5. Add a Wood Slat Acoustic Wall
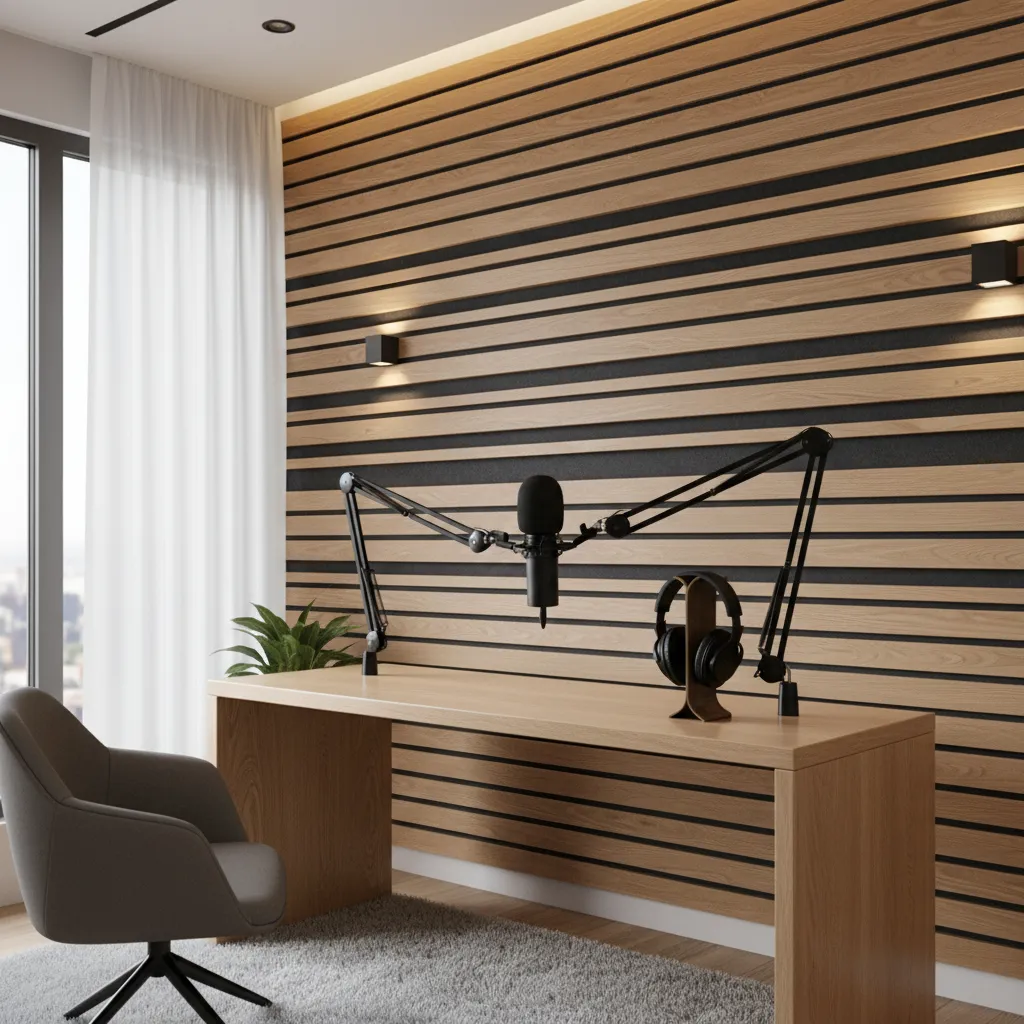
Wood slat panels with a felt backing offer a brilliant mix of diffusion and absorption. The wood scatters the sound waves, while the felt traps them. This creates a stunning, modern accent wall perfect for video podcasts.
Furniture that Fights Echo
Every piece of furniture you bring into your podcast room changes how sound travels. By making smart choices, your decor can do double duty.
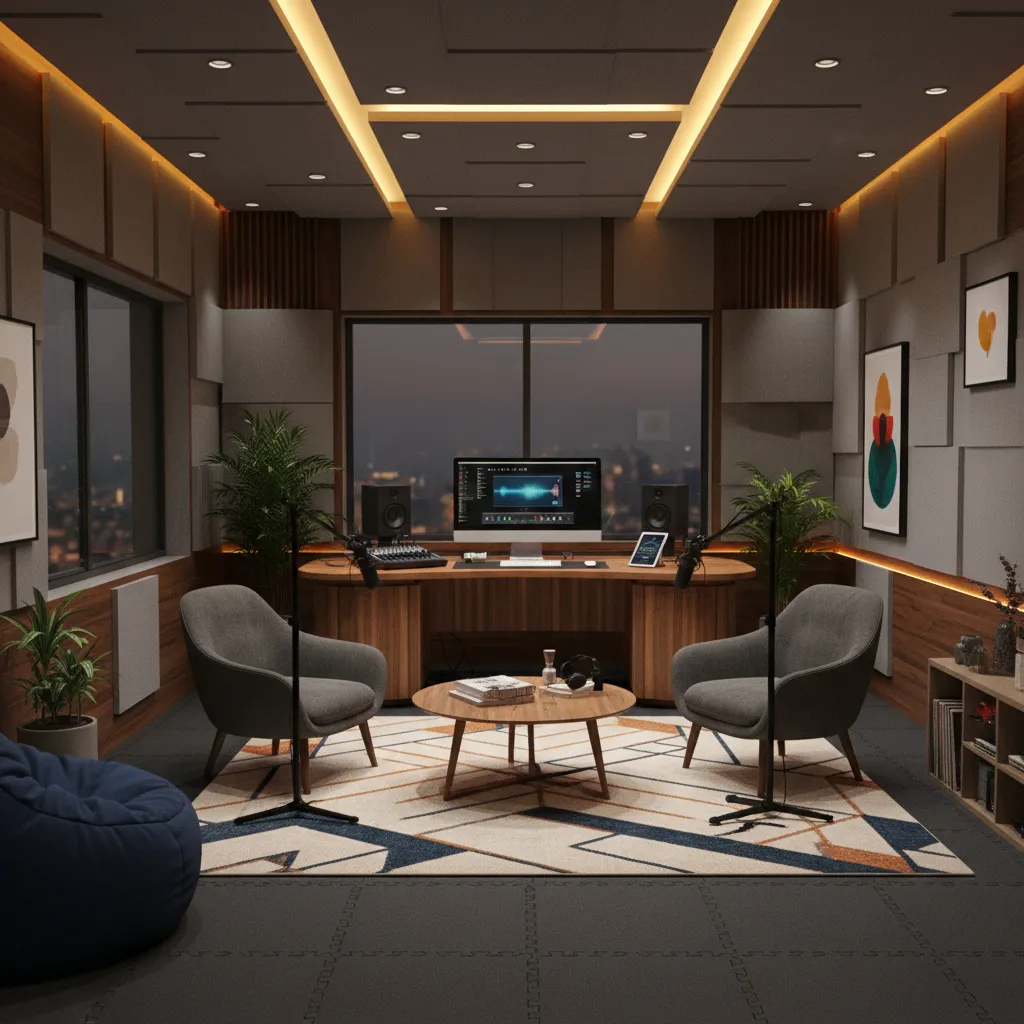
6. Bring in a Plush Sofa or Armchair
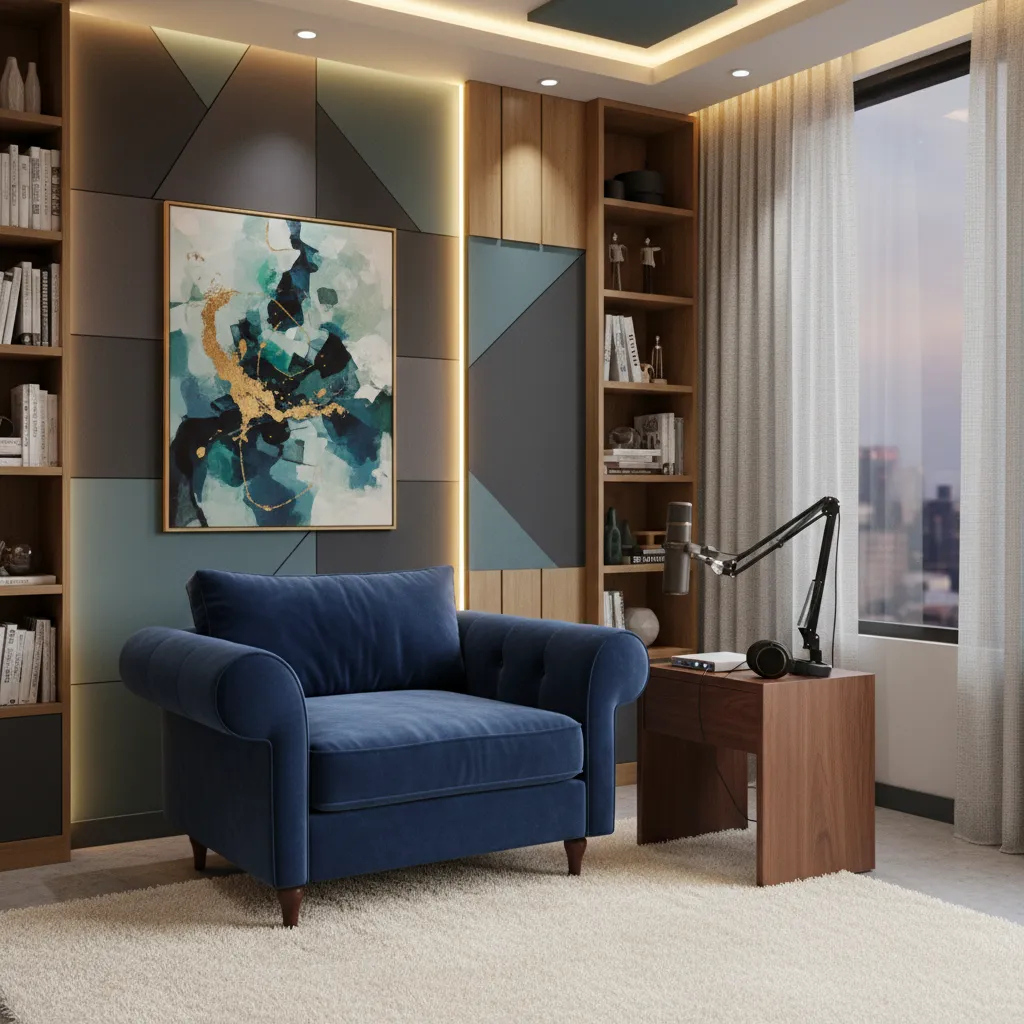
Soft, heavily upholstered furniture acts like a giant bass trap. If you have the space, adding a plush fabric sofa or a thick velvet armchair will drastically reduce the echo in your recording room.
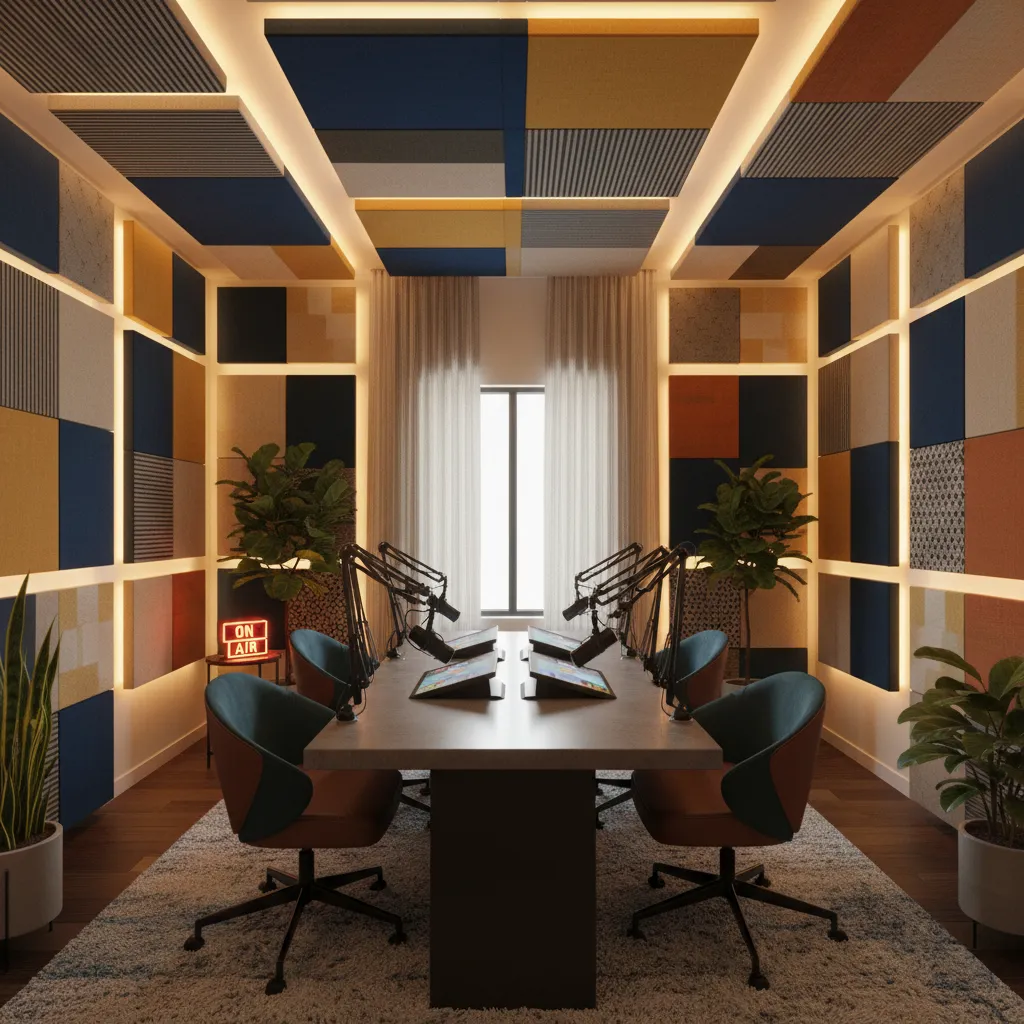
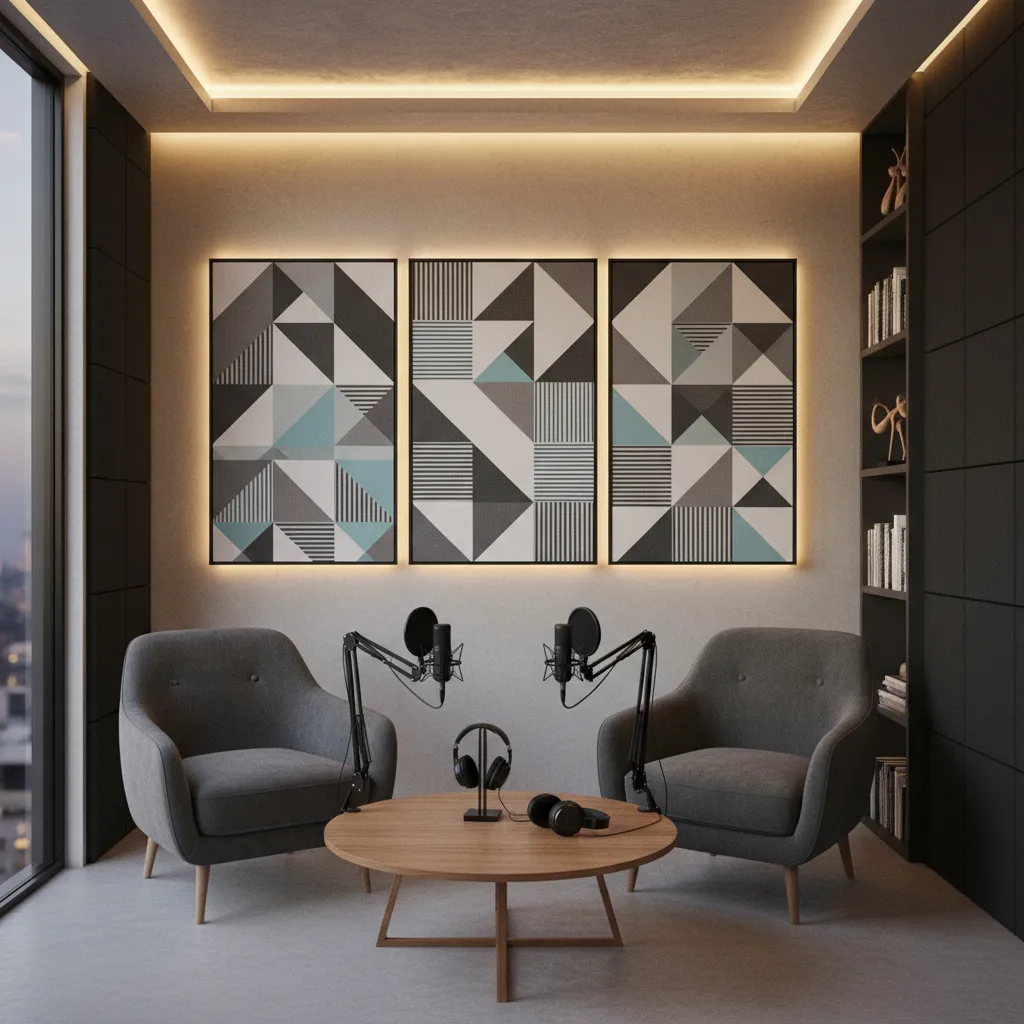
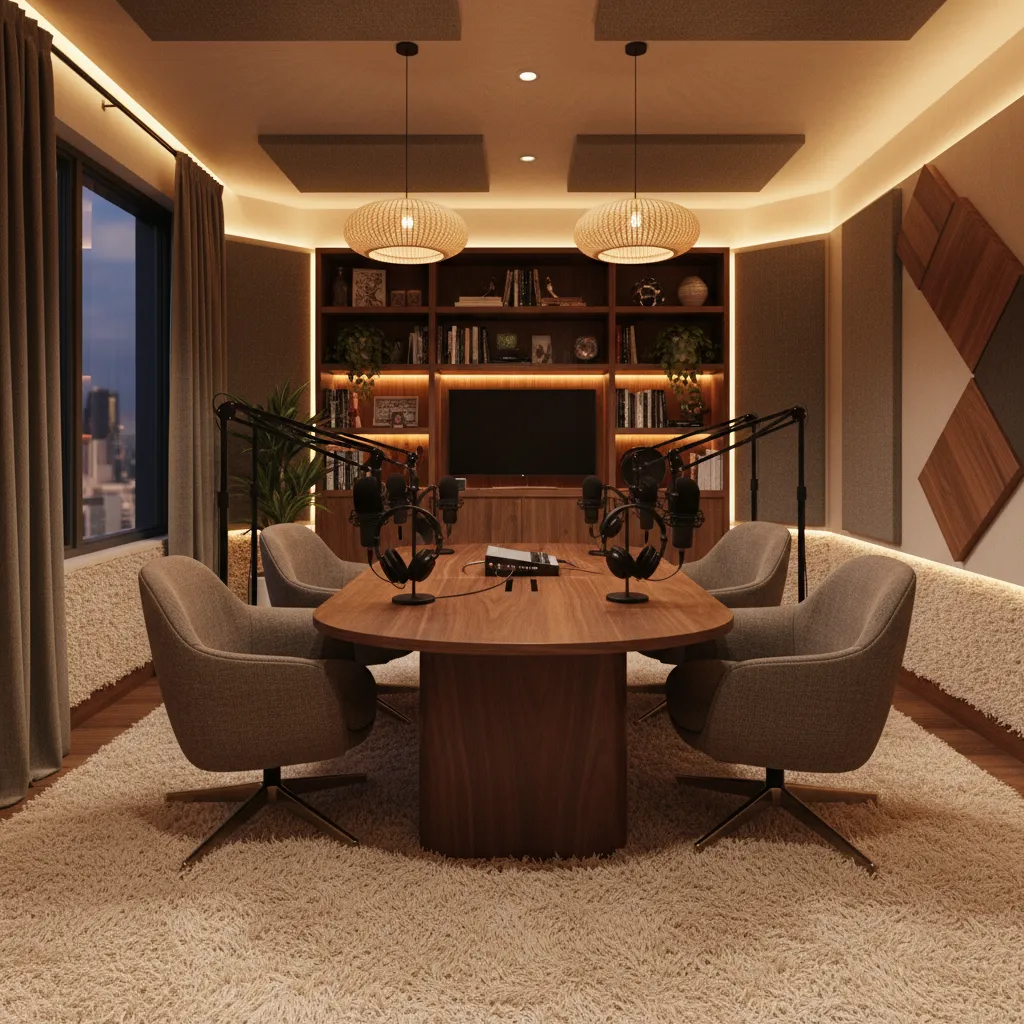
7. Pack a Floor-to-Ceiling Bookshelf

Books are incredibly dense and come in various sizes. A large bookshelf filled with books acts as a natural sound diffuser. The uneven surface scatters sound waves perfectly, making it an excellent backdrop for your setup.
8. Opt for a Solid Wood Desk

A heavy, solid wood desk absorbs vibrations much better than a thin metal or glass table. If you are upgrading your setup, look into Smart Standing Desk Designs that feature thick wooden tops to minimize desk thumps transferring to your microphone arm.
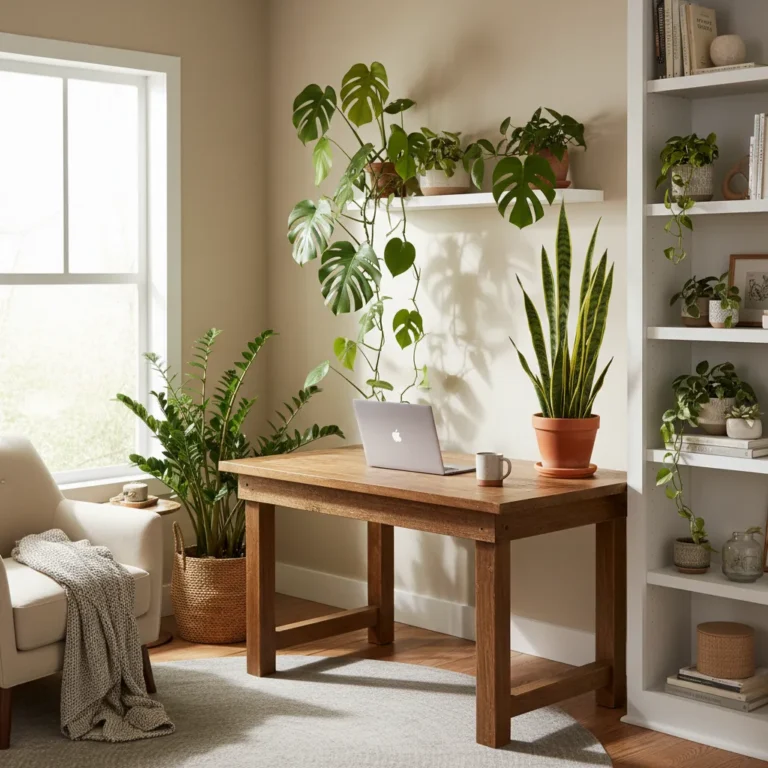
9. Add Large Houseplants
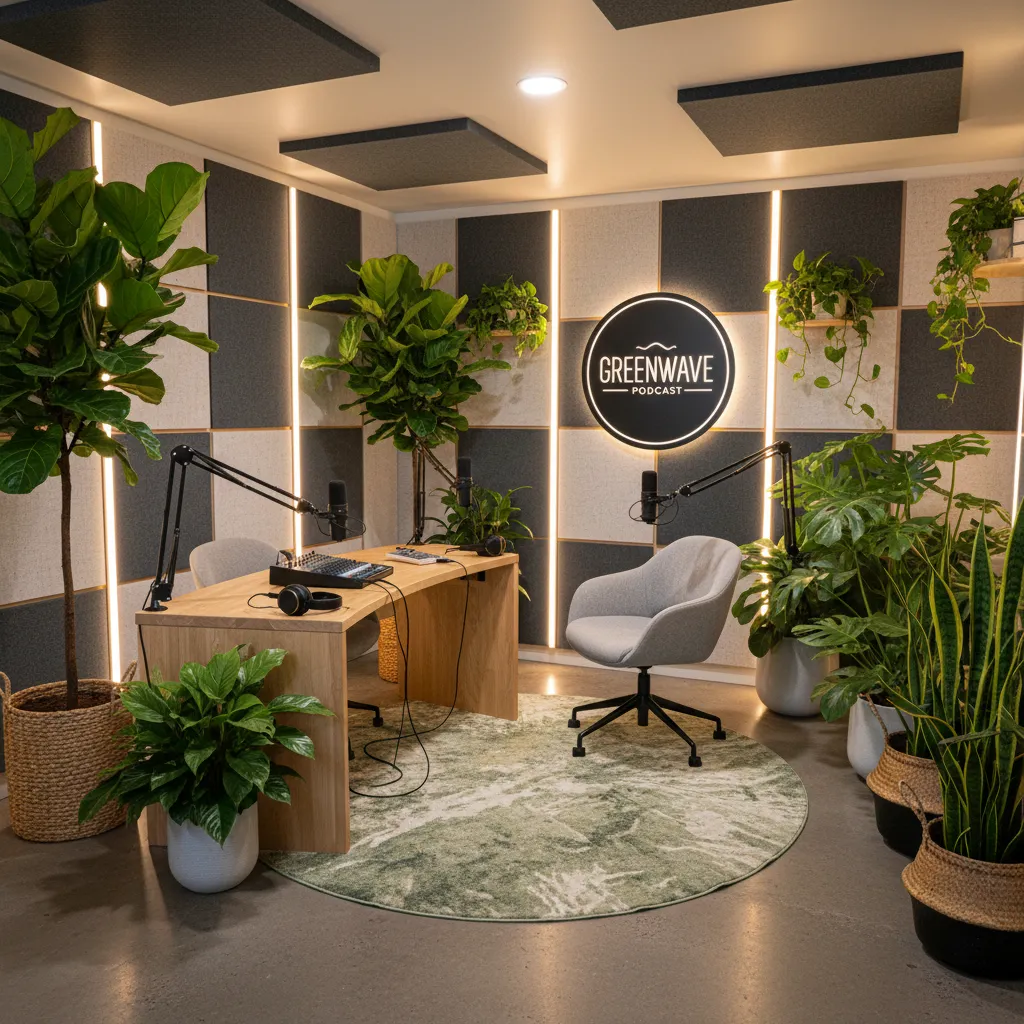
Leaves and soil help break up flat spaces and absorb minor high-frequency noises. Plus, they look phenomenal on camera. Check out these Office Plants Decor Ideas to find the best low-maintenance greenery for your studio.
Floor and Ceiling Acoustics
We often focus entirely on walls and forget about the massive flat surfaces above and below us. Treating your floors and ceilings is crucial for perfect sound recording.
10. Lay Down a Thick Shag Rug
Hardwood and tile floors are acoustic nightmares. Cover as much floor space as possible with a thick, high-pile rug. For even better results, place a dense felt rug pad underneath it.
11. Suspend Ceiling Clouds
If you have high ceilings, sound will bounce upwards and create a delayed echo. Suspend acoustic panels horizontally from the ceiling directly above your recording desk. These “clouds” catch sound before it can reach the ceiling.
12. Use Interlocking Gym Mats
For a highly effective and temporary floor solution, lay down interlocking EVA foam gym mats. You can easily throw a decorative rug over them, instantly adding an inch of sound-absorbing foam to your floor.
13. Install Textured Ceiling Tiles

If you own your home and want a permanent fix, swap out smooth ceiling drywall for textured acoustic ceiling tiles. They are especially helpful in basement studios where overhead foot traffic is a problem.
Room Layout and Microphone Placement
Where you sit in the room matters just as much as what you put on the walls.
14. Face the Shortest Wall
Never sit dead center in a square room, as this causes low-end frequencies to build up around you. Position your desk facing the shortest wall, keeping yourself a few feet away from the wall to prevent voice bounce-back.
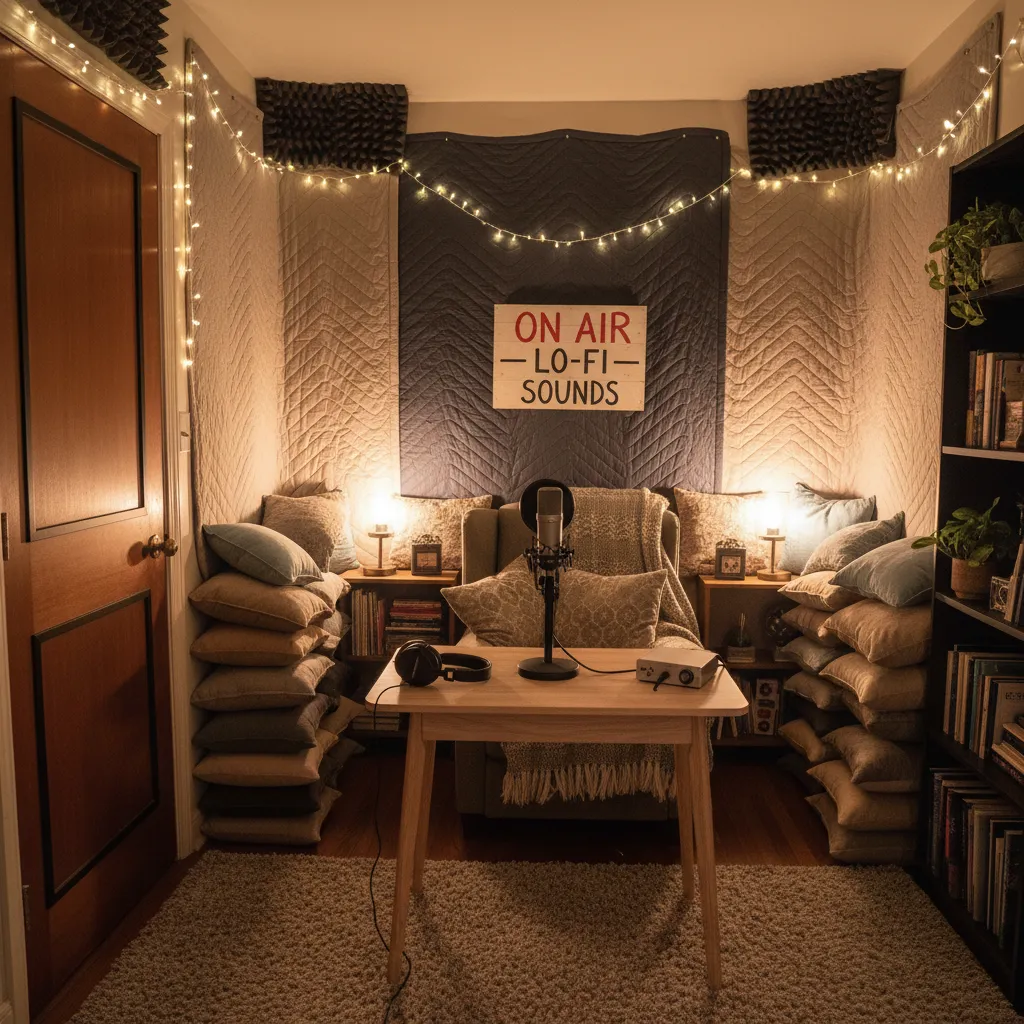
15. Build a Vocal Booth Closet

If your room has a walk-in closet, congratulations—you have a built-in isolation booth. Leave your clothes hanging inside, set up a small desk, and record your audio there. The thick clothing will deaden the sound beautifully.
16. Angle Your Monitors and Desk
Avoid parallel setups. If your desk and monitors face a perfectly flat, parallel wall, you create “standing waves.” Angle your desk slightly so sound waves bounce away from your microphone rather than directly back into it.
17. Use a Microphone Isolation Shield
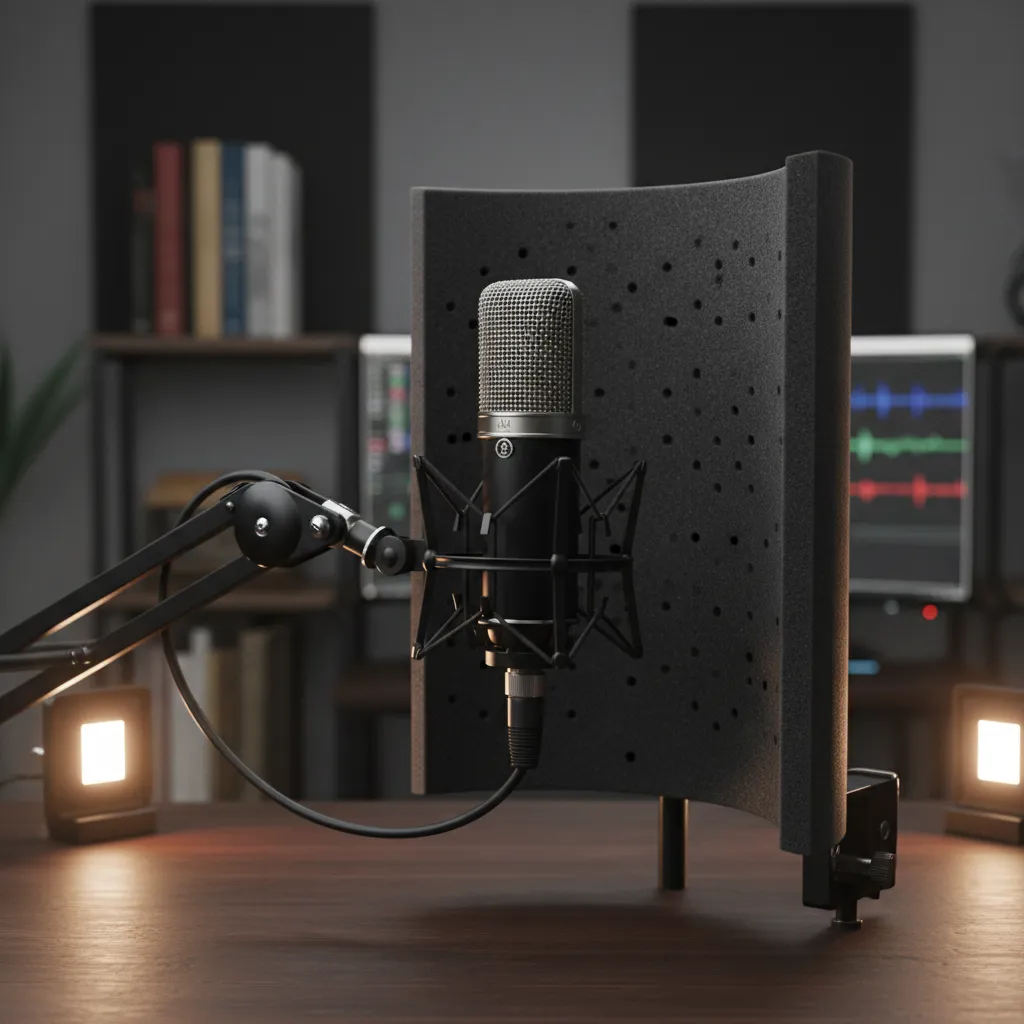
If treating the whole room is impossible, treat the immediate area around your microphone. A curved acoustic isolation shield wraps around your mic, blocking room reverb and computer fan noise.
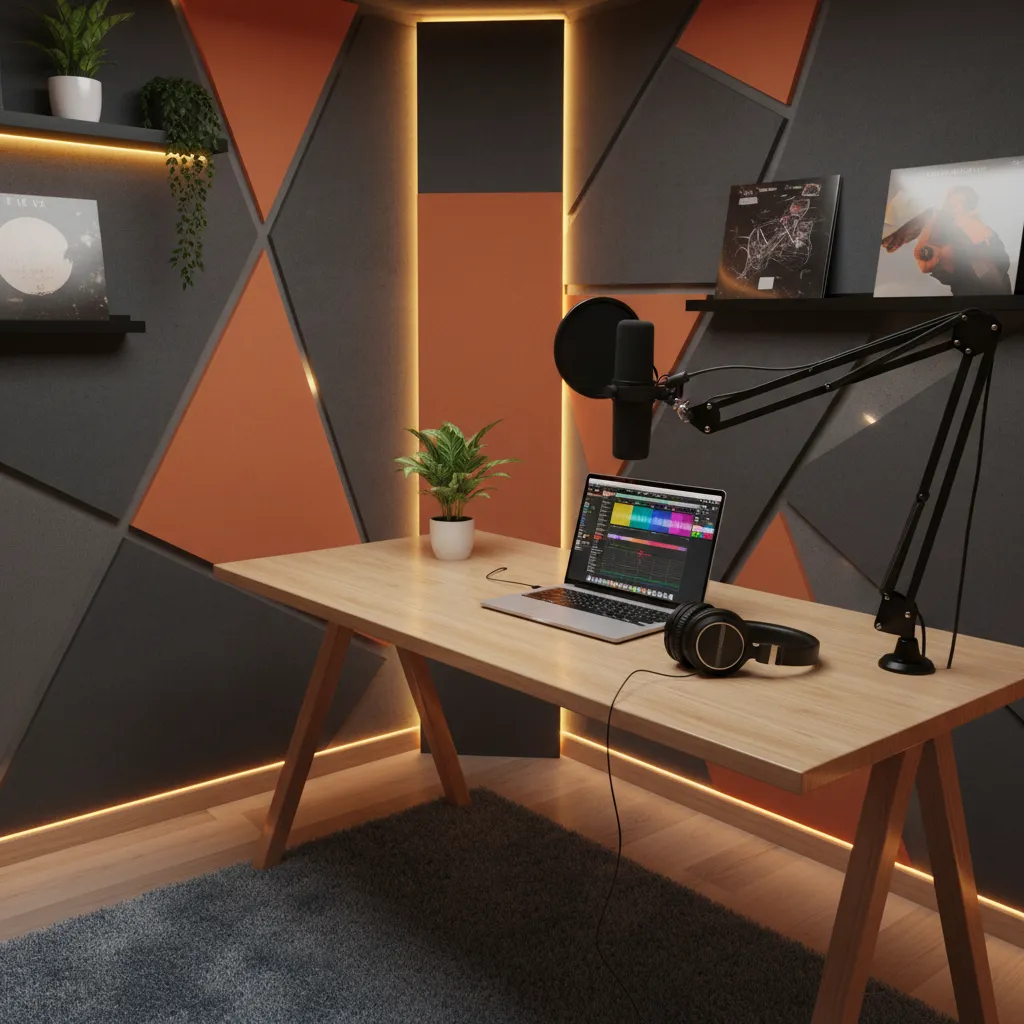
18. Keep Your Setup Cozy and Cluttered
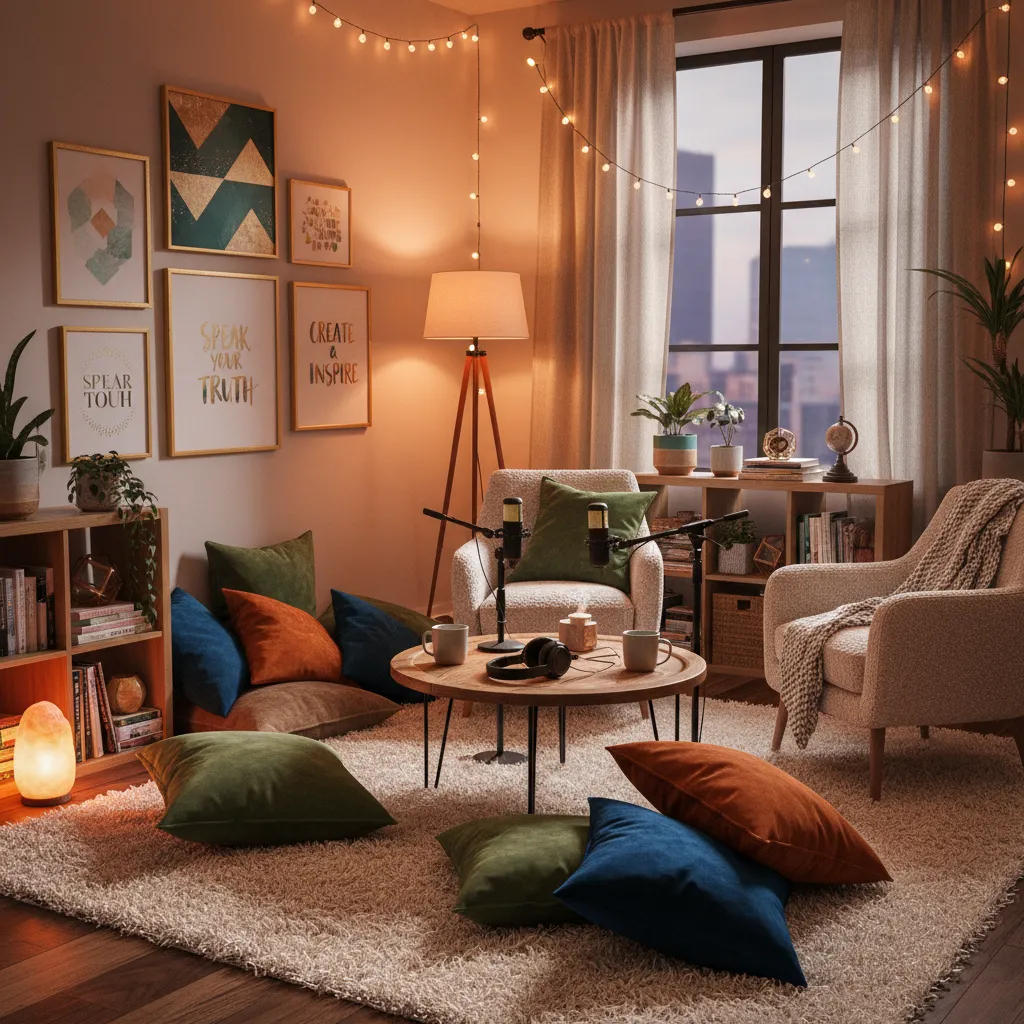
Minimalism is terrible for acoustics. A room filled with decor, cushions, wall art, and cozy elements sounds infinitely better than a stark, empty space. For inspiration on creating a beautiful but functional setup, browse these Chic Home Office Ideas.
Budget-Friendly Ideas
You do not need an endless budget to make your podcast sound professional. Here are a few wallet-friendly ways to treat your room:
- Moving Blankets: Heavy-duty moving blankets are the best budget soundproofing hack. Hang them over doors or windows using tension rods while you record.
- Pillows and Cushions: Grab extra pillows from your living room and stack them in the corners of your recording space. Corners are where bass frequencies build up, and pillows act as cheap bass traps.
- Thrift Store Decor: Head to a thrift store and buy cheap, heavy fabric canvases, macrame wall hangings, and dense rugs.
- Weather Stripping: Sound enters your room through the tiny gaps around your door. Buy a cheap roll of weather stripping tape and seal the door frame to block out hallway noise.
Mini Step-by-Step Guide: Treating a Room for Under $50
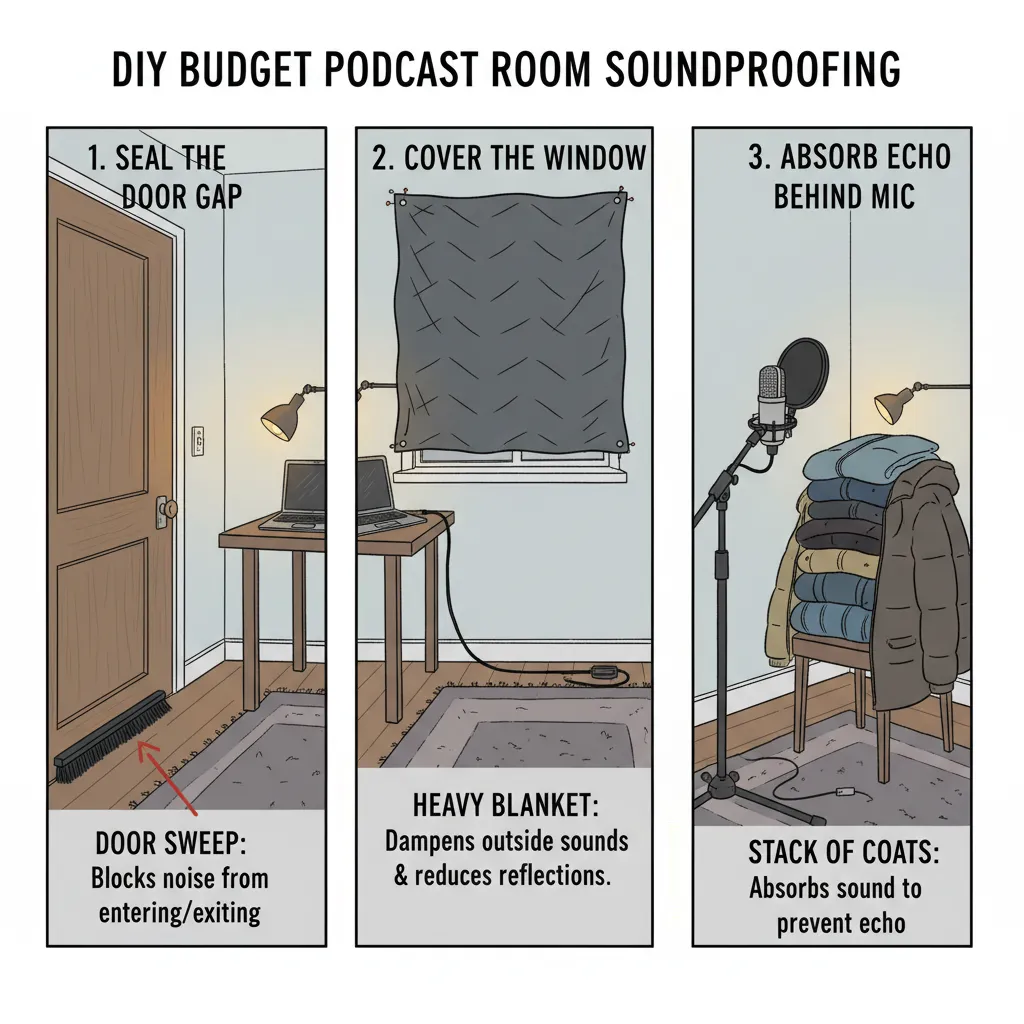
- Draft seal your door: Apply a $10 door sweep to the bottom of your recording room door.
- Hang a heavy blanket: Pin a dense quilt or moving blanket across your window to block outside traffic noise.
- Raid your closets: Stack your winter coats on a rolling rack and place them behind your microphone to catch vocal reflections.
- Tweak mic placement: Move your microphone within three inches of your mouth and turn down the gain to reject background noise.
Common Mistakes to Avoid
Even seasoned podcasters make acoustic missteps. Avoid these common pitfalls to keep your audio crisp.
Over-Deadening the Room
Plastering every square inch of your room with foam will make your audio sound unnatural and muffled. You want to absorb the harsh echoes but leave a little bit of natural room reflection. Aim to cover about 25% to 30% of your wall space.
Ignoring Low Frequencies
Thin foam panels only absorb high frequencies like hisses and clicks. They do nothing for deep, booming voices or low-end traffic rumble. You must include thicker items like furniture, bass traps, or heavy blankets to catch those lower sound waves.
Using Egg Cartons
This is the oldest myth in audio recording. Cardboard egg cartons do not absorb sound. They simply pose a massive fire hazard. Stick to actual fabric, foam, or thick blankets instead.
Focusing Only on Soundproofing
Soundproofing and sound absorption are two different things. Soundproofing stops noise from entering the room (like a barking dog). Sound absorption stops echo inside the room. Make sure you are tackling the right problem. If your room echoes, you need absorption, not soundproofing.
Conclusion
Creating the perfect acoustic podcast room is a blend of science and interior design. You do not have to settle for terrible audio or record under a sweaty duvet cover ever again. By strategically placing thick rugs, utilizing soft furniture, and adding a few well-placed acoustic panels, you can instantly upgrade your production value.
Start small. Treat your first reflection points, lay down a thick rug, and hang some heavy curtains. Test your audio, listen for the differences, and adjust your space from there. Take these ideas, apply them to your own home or apartment, and get ready to record your best-sounding podcast episode yet. Your listeners will definitely thank you for the crisp, professional audio.