15 Genius Thrifted Home Decor DIYs You Can Make on a Budget
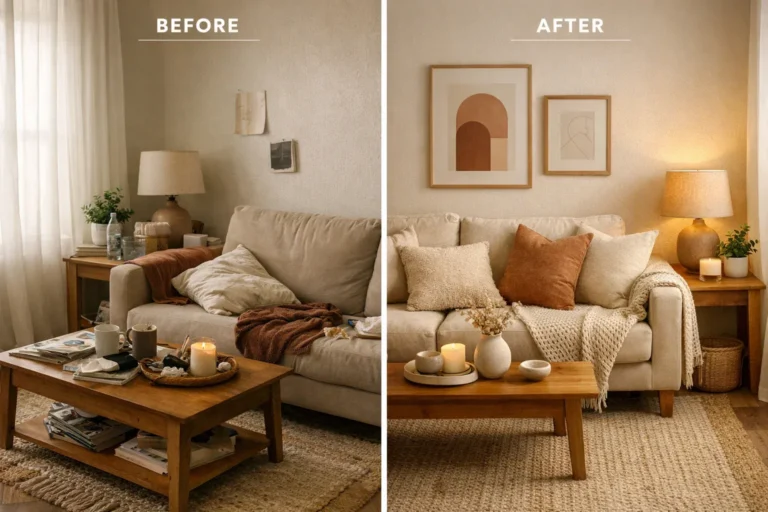
Creating a beautiful, inspiring space does not have to cost a fortune. Whether you are a parent setting up a comfortable study area for your Class 10 student or someone looking to refresh their living room, thrifted home decor DIYs offer the perfect solution. You can transform second-hand finds into stunning, customized pieces that bring life and personality to your home.
In this guide, you will learn exactly how to source, clean, and upgrade budget-friendly items. We will walk you through practical projects that elevate your space without emptying your wallet. Let’s dive into these creative and accessible thrifted home decor DIYs that guarantee professional-looking results.
Why This Home Decor Idea Matters
Upcycling second-hand items provides immense value beyond just saving money. Thrifted home decor DIYs allow you to create a personalized environment tailored to your exact needs. For families balancing educational expenses and home updates, these projects offer a high-quality aesthetic without the premium price tag.
Furthermore, engaging in these projects promotes sustainability by keeping usable items out of landfills. You gain total control over the design, ensuring that every piece perfectly matches your room’s theme. A well-organized, beautifully decorated space also reduces stress and improves focus—an essential benefit for students preparing for crucial entrance exams like NEET or JEE.
Best Home Decor Ideas
Here are our top projects to help you achieve a premium look on a budget.
1. Textured Ceramic Vases
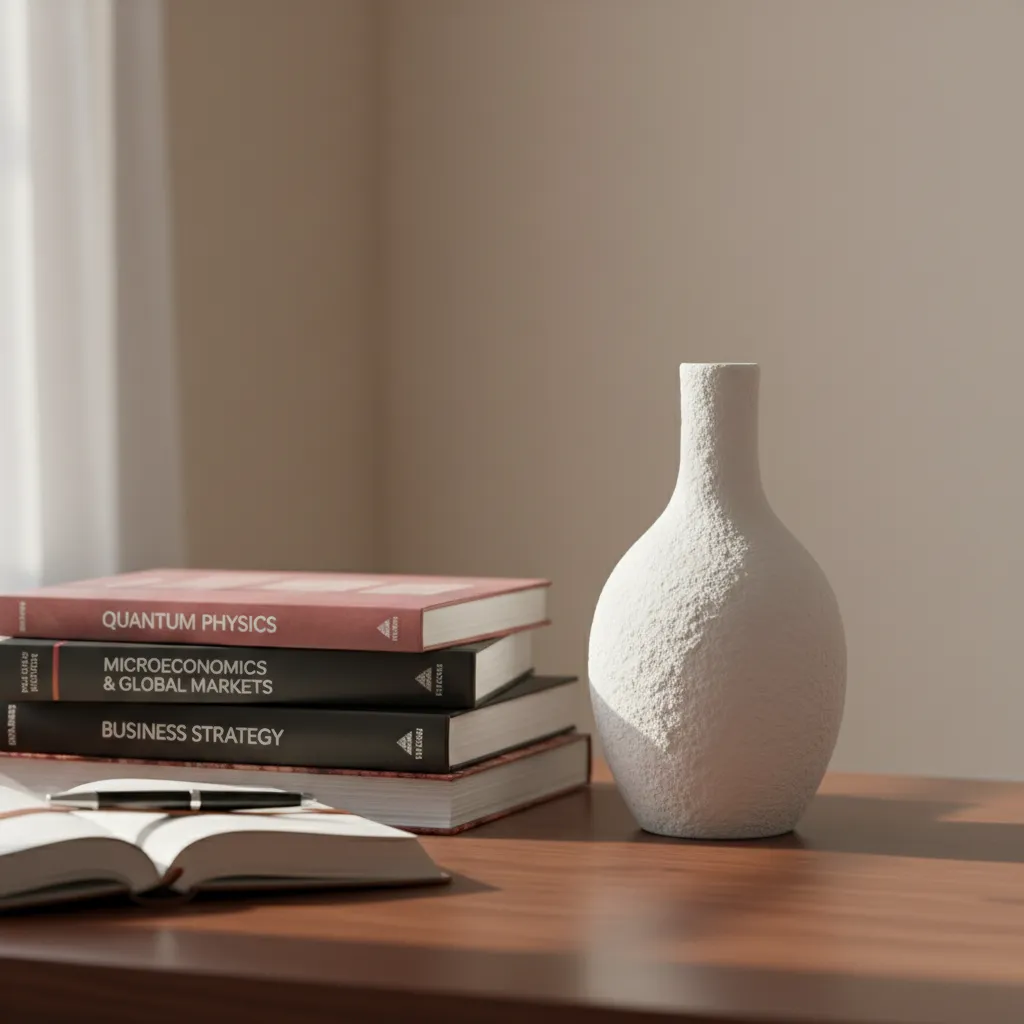
Transform outdated, brightly colored glass vases into modern ceramic-looking masterpieces. Mix basic acrylic paint with a tablespoon of baking soda to create a thick, textured paste, and brush it onto the glass.
Practical tip: Stick to neutral colors like matte white, beige, or soft terracotta to easily blend with your NeoDeco Home Decor Ideas.
2. Upcycled Ornate Frames

Thrift stores are packed with sturdy but dated picture frames. Remove the old artwork, spray paint the frame in a bold gold or sleek black, and use it to display family photos or academic achievement certificates.
Practical tip: Lightly sand the frame before painting to ensure the new color adheres perfectly.
3. Wooden Crate Bookshelves
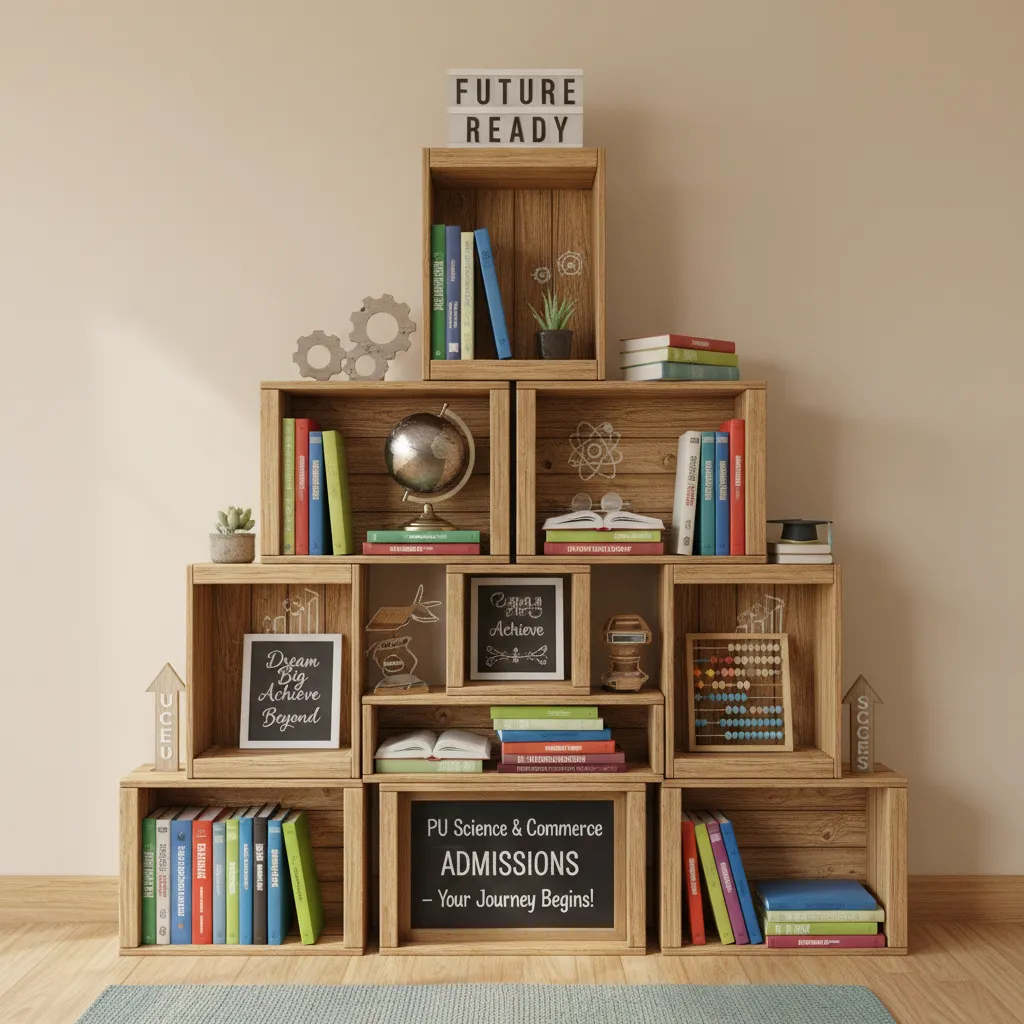
Stack and secure old wooden fruit or wine crates to build a rustic, highly functional storage unit. This is an excellent way to organize heavy textbooks, mock test papers, and study materials.
Practical tip: Sand the rough edges and apply a clear wood varnish to prevent splinters and add durability.
4. Vintage Teacup Planters
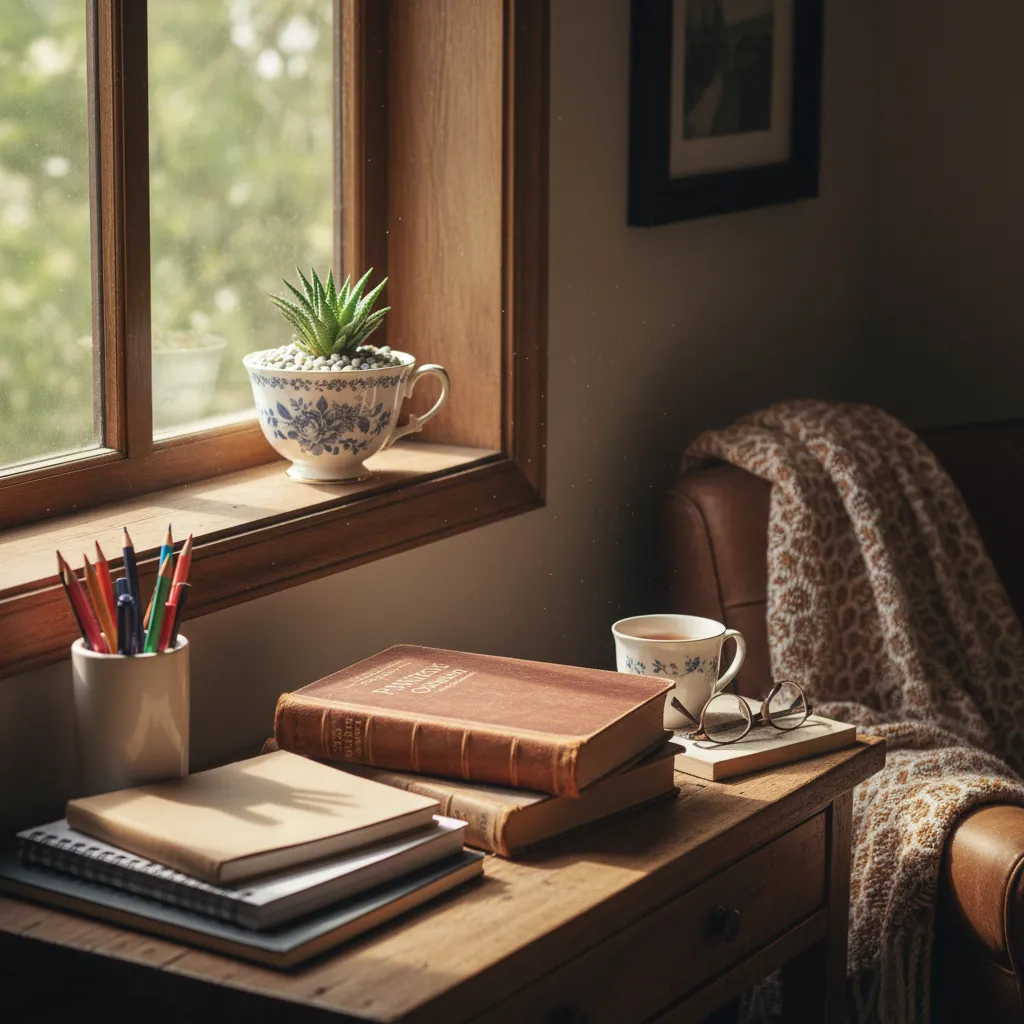
Give chipped or unmatched vintage teacups a new purpose by turning them into charming homes for small succulents. They look brilliant on windowsills or study desks.
Practical tip: Add a small layer of pebbles at the bottom of the cup before adding soil to ensure proper water drainage.
5. Reimagined Desk Chairs

Find a structurally sound desk chair at a second-hand shop and recover the seat cushion with fresh fabric. A comfortable, stylish chair is vital for long hours of focused learning and reading.
Practical tip: Use a heavy-duty staple gun to pull the new fabric tight over the existing cushion for a smooth, professional finish.
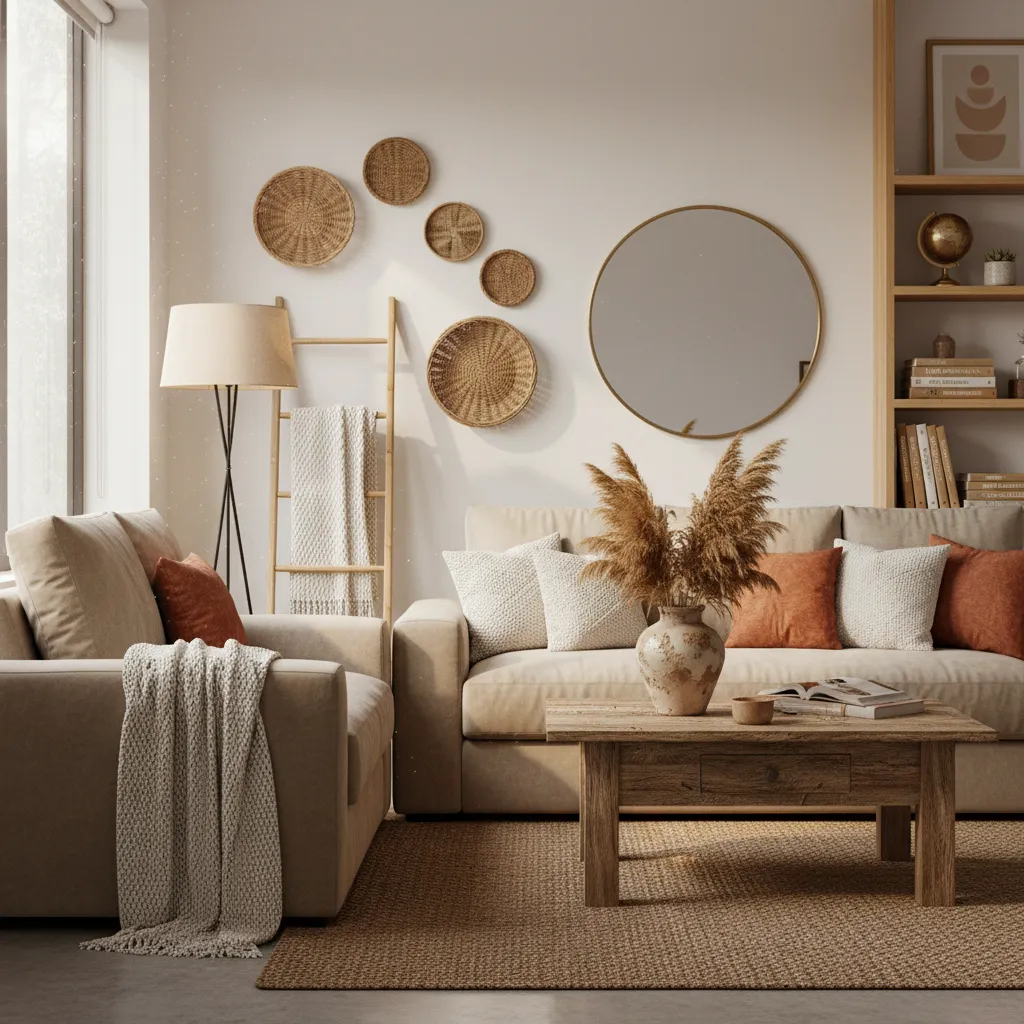
6. Wicker Basket Wall Art
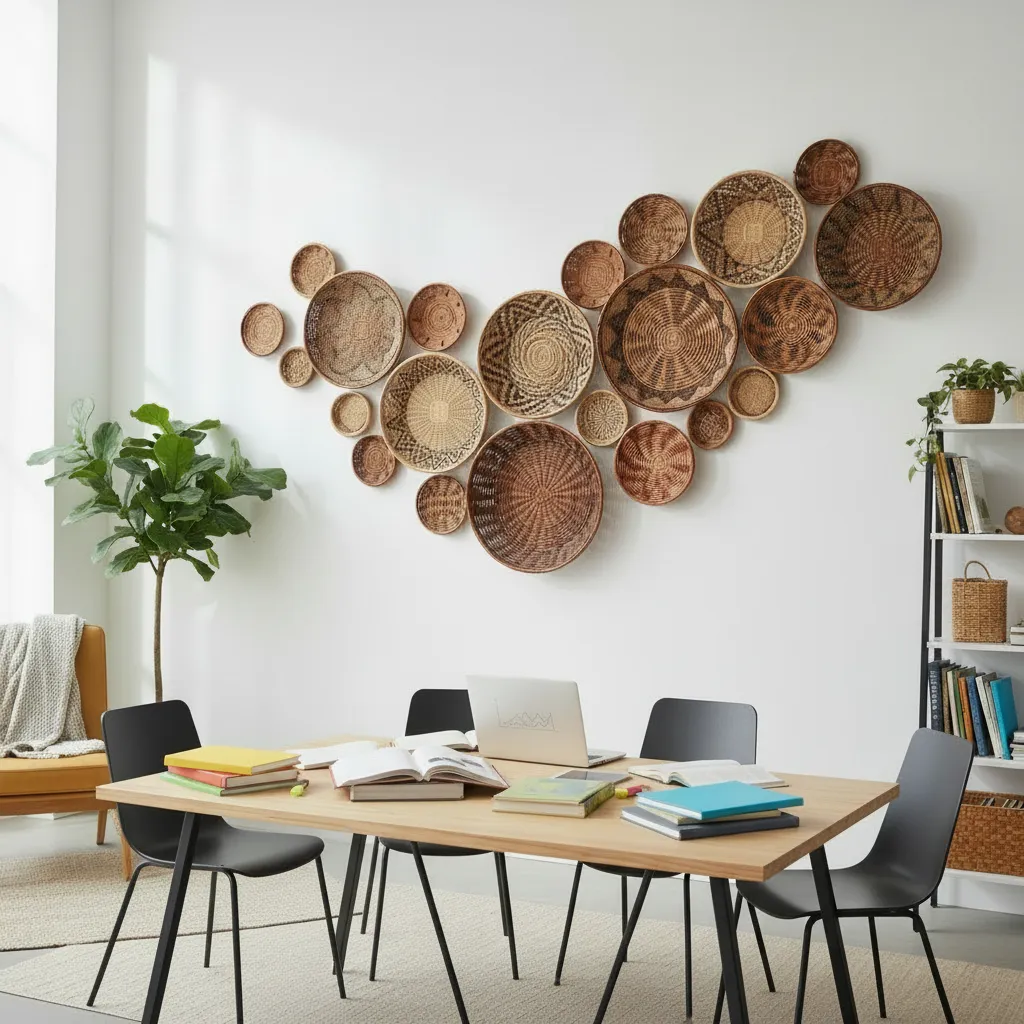
Collect shallow woven baskets in various sizes and patterns from your local charity shop. Hang them together in a cluster on a blank wall to add instant warmth and texture to the room.
Practical tip: Plan your layout on the floor first before putting any nails into the wall.
7. Candlestick Pedestal Bowls
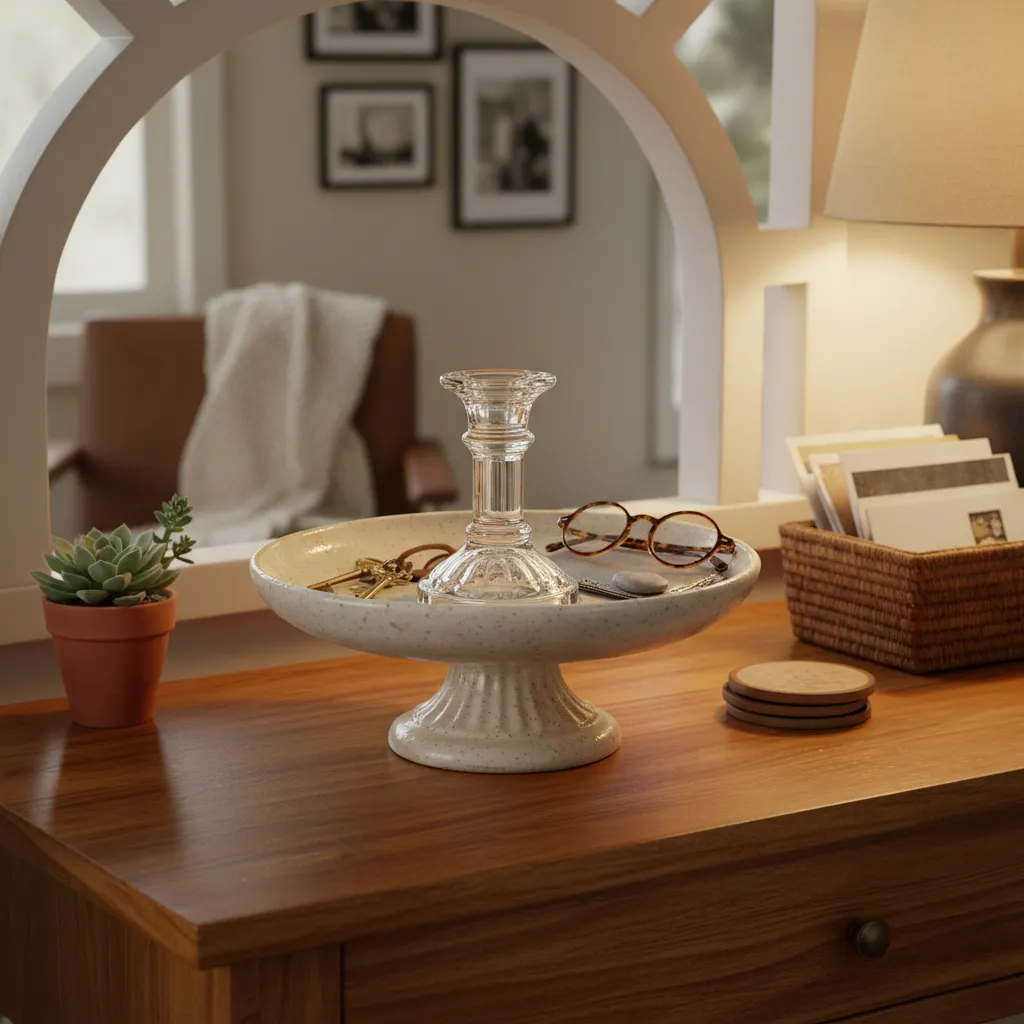
Glue a thrifted wooden or glass candlestick to the bottom of a wide bowl or plate. This instantly creates an elegant pedestal stand for organizing keys, jewelry, or stationery.
Practical tip: Use an industrial-strength adhesive like E6000 for a secure and permanent bond.
8. Fabric-Wrapped Storage Boxes
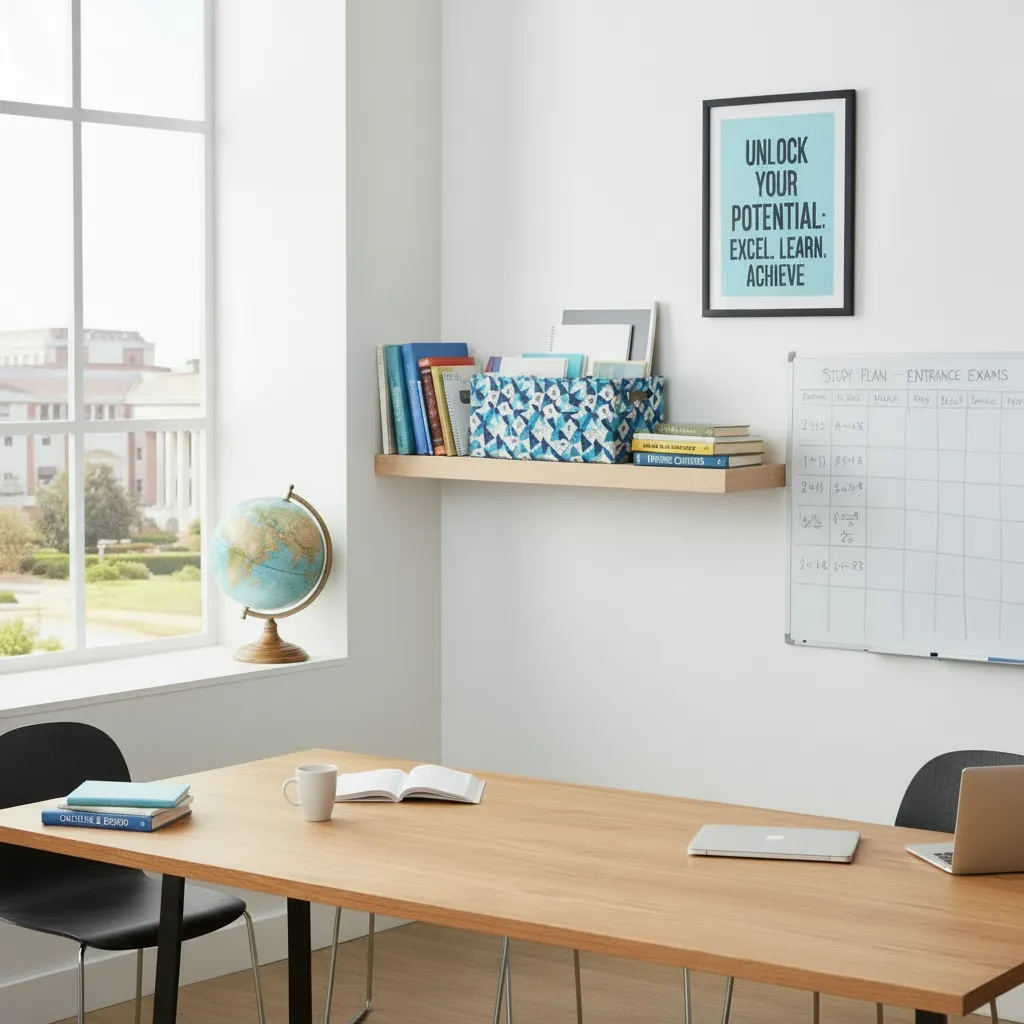
Take standard cardboard shipping boxes and wrap them tightly in thrifted fabric or old curtains. This creates attractive, hidden storage for cables, calculators, and miscellaneous supplies.
Practical tip: If you have leftover material from your Blue Curtain Ideas, use it here to tie the room’s color palette together.
9. Upcycled Tray Organizers
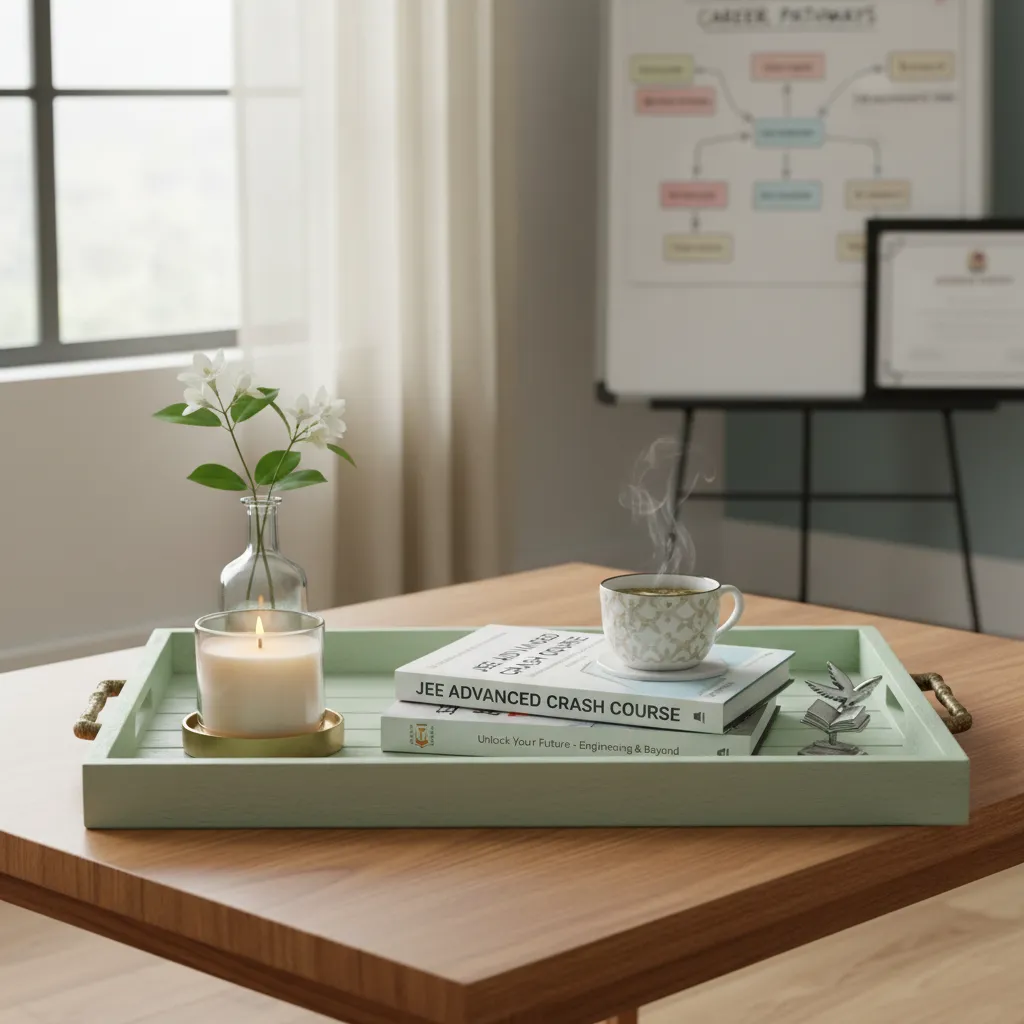
Old serving trays can be sanded down, painted, and placed on coffee tables or desks. They help group smaller items together, making any surface look instantly tidier and more intentional.
Practical tip: Add stick-on felt pads to the bottom of the tray to prevent it from scratching your furniture.
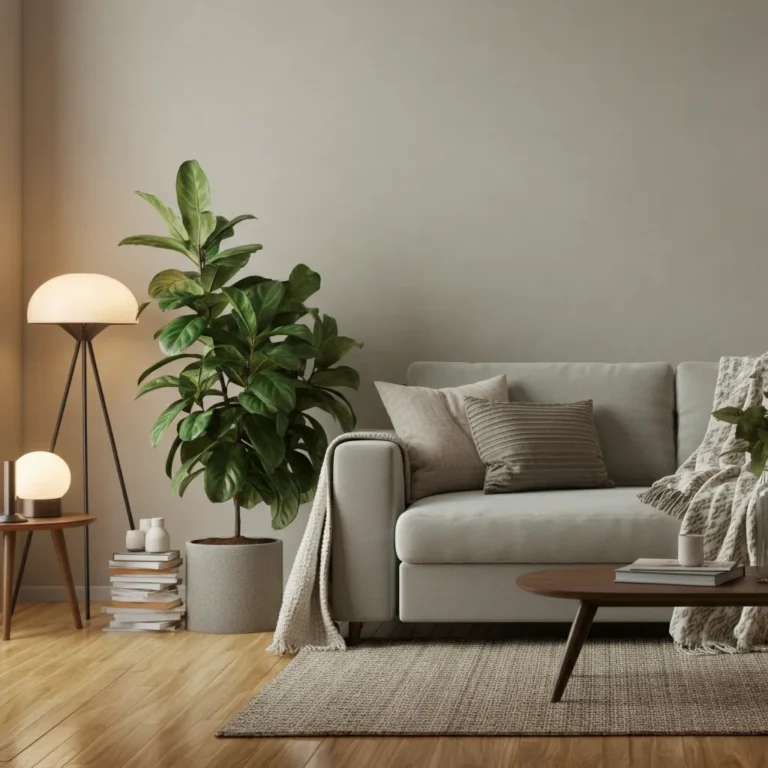
10. Painted Wooden Stools
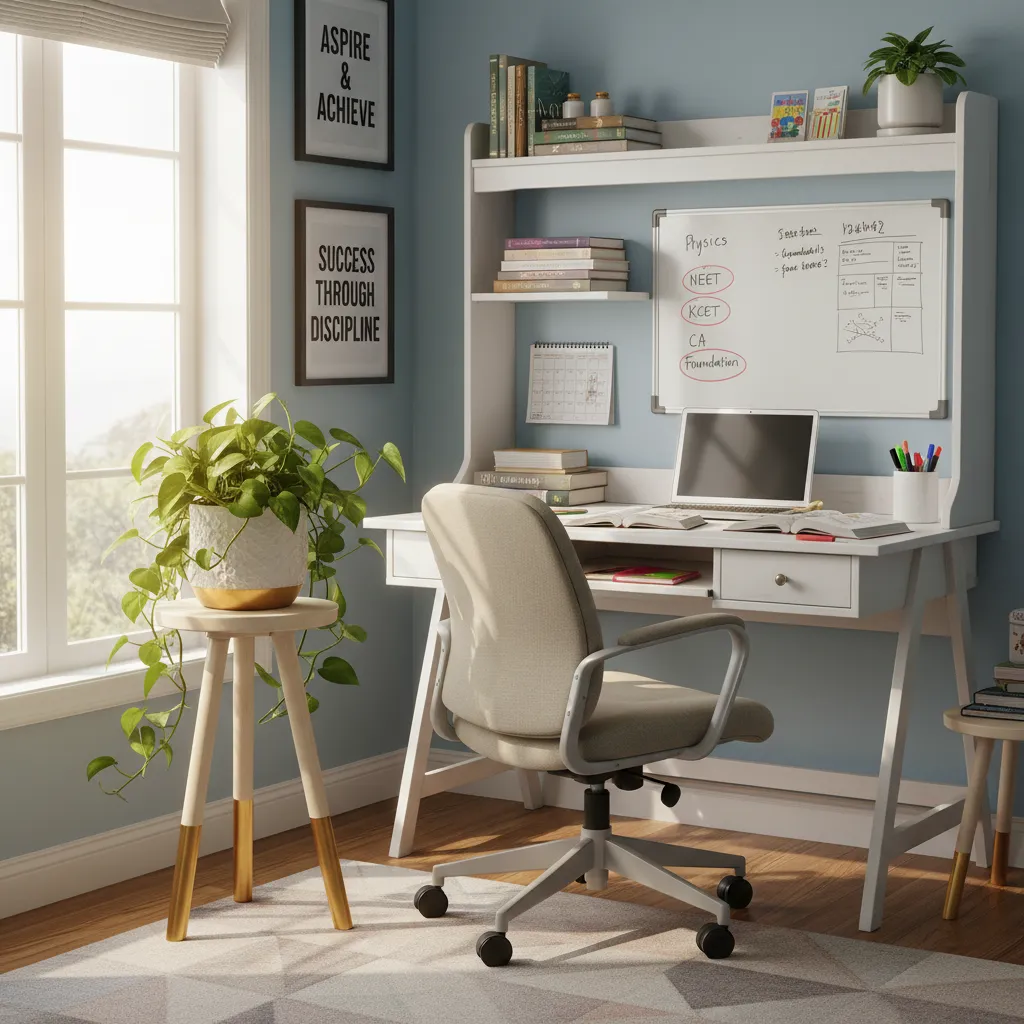
A basic wooden stool can serve as a side table, a plant stand, or extra seating. Sand off the old finish and paint the legs in a striking accent color.
Practical tip: Dip the bottom two inches of the legs in metallic gold paint to create a modern, high-end “dipped” effect.
11. Custom Corkboards
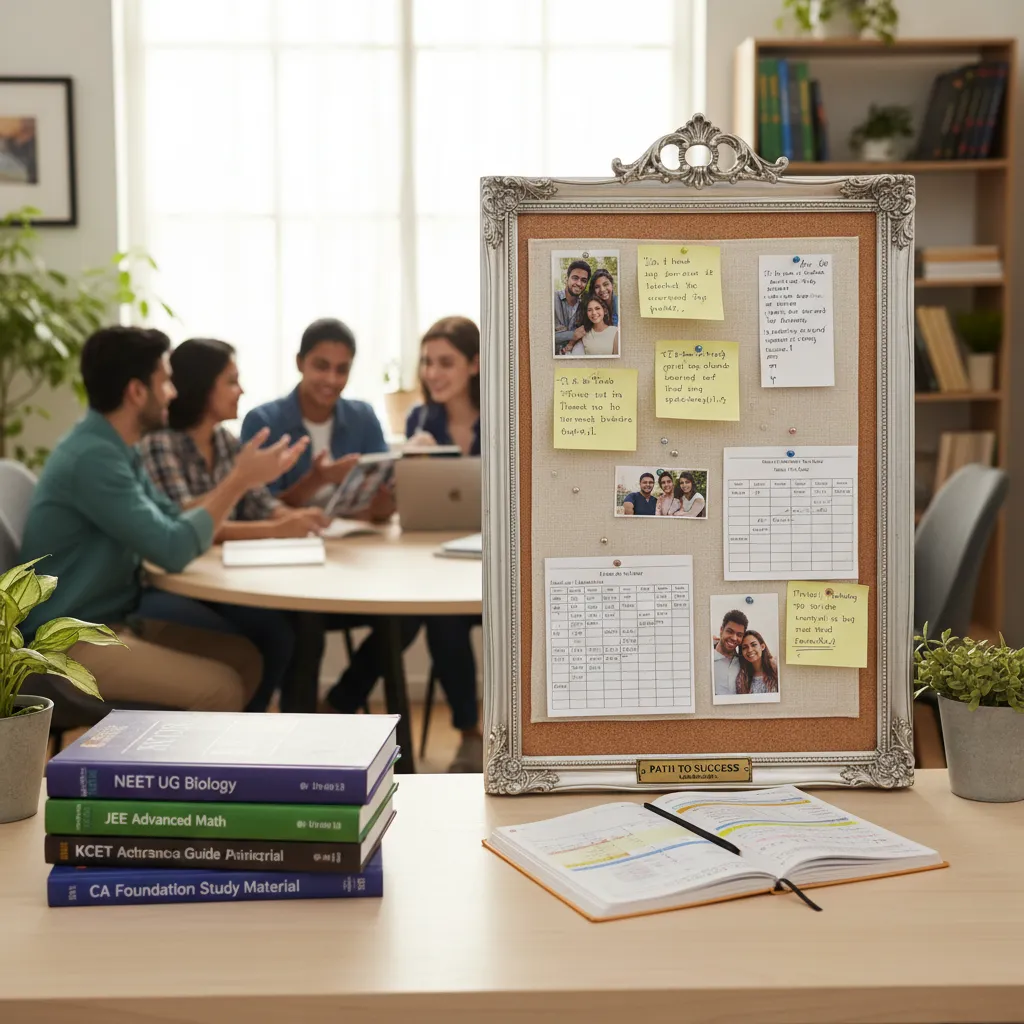
Buy an old, large framed mirror, carefully remove the glass, and replace it with a sheet of cork. It becomes a premium vision board or study schedule planner.
Practical tip: Cover the cork with a thin layer of linen fabric before securing it in the frame for a softer look.
12. Glass Jar Desk Caddies

Clean out old mason jars or thrifted glass canisters to hold pens, pencils, and highlighters.
Practical tip: Spray paint the lids to match the dark Curtain Ideas in your room for a cohesive aesthetic.
13. Repurposed Shutters for Mail
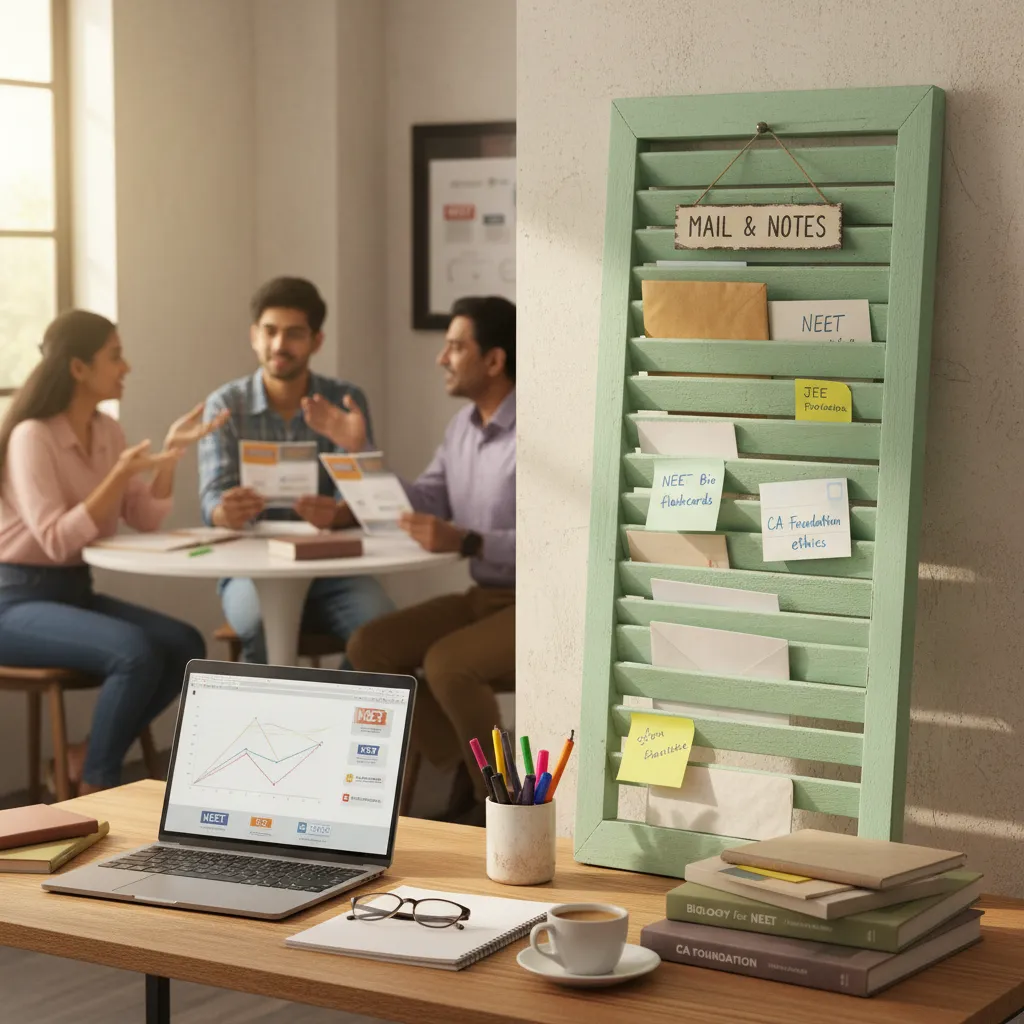
Old wooden window shutters can be cleaned, painted, and leaned against a wall to hold incoming mail, flashcards, or important reminders between the slats.
Practical tip: Use a damp microfiber cloth to thoroughly clean dust from the louvers before applying any paint.
14. Celestial-Themed Drawer Knobs

Update a boring thrifted dresser by replacing the hardware. You can paint old wooden knobs with metallic stars or moons to seamlessly match your Celestial Decor Ideas.
Practical tip: Take one of the original screws with you to the hardware store to ensure your new knobs fit perfectly.
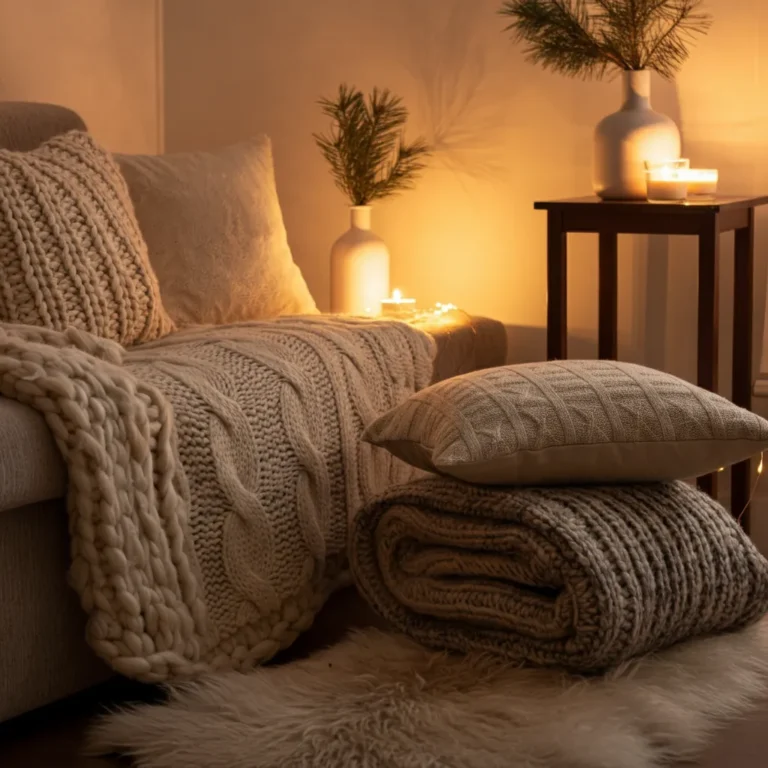
15. Minimalist Blanket Ladders
Find an old, sturdy wooden ladder and sand it down completely to its natural grain. Lean it against your wall to drape cozy throws or neatly hang tomorrow’s outfit.
Practical tip: Apply a natural beeswax finish to protect the wood while maintaining a raw, organic texture.
Budget-Friendly Tips
To get the most out of your thrifted home decor DIYs, always shop with a plan. Visit second-hand stores on weekdays when they restock, and look past ugly colors to focus on the shape and structural integrity of an item. Invest in high-quality staples like good sandpaper, a reliable adhesive, and multi-surface spray paint. For those needing fast results without major renovations, implementing Quick Micro-Makeover Ideas using thrifted items can save both time and money.
Common Mistakes to Avoid
- Skipping the prep work: Failing to clean and sand items before painting leads to peeling and chipping.
- Ignoring structural damage: A wobbly chair or a cracked vase often costs more to fix than to replace.
- Buying without measuring: Always measure your available space before purchasing large thrifted furniture.
- Rushing the drying process: Let adhesives and paints cure completely to ensure a durable, long-lasting finish.
How to Get Started (Step-by-Step)
- Assess Your Space: Identify exactly what your room lacks—be it storage, seating, or decorative accents.
- Set a Budget: Determine how much you are willing to spend on both the thrifted item and the DIY supplies.
- Source Materials: Visit local thrift shops, flea markets, or online marketplaces to find items with good “bones.”
- Clean and Prep: Thoroughly wash, disinfect, and sand your items to create a blank canvas.
- Execute the DIY: Follow your chosen tutorial, apply your finishes, and let the piece dry entirely before moving it into your home.
Frequently Asked Questions
Are thrifted home decor DIYs actually sanitary?
Yes, as long as you clean them properly. Hard surfaces like wood, glass, and metal can be easily disinfected with a mixture of water and vinegar or standard household cleaners.
What is the easiest DIY project for a beginner?
Textured ceramic vases are incredibly easy. They require no special tools, just an old glass vase, basic acrylic paint, and baking soda.
How do I know if a thrifted wooden item is worth saving?
Check for severe water damage, deep rot, or signs of pests. If the wood is solid and the joints are relatively tight, surface scratches can easily be sanded away.
Do I need expensive tools to start upcycling?
Not at all. Most thrifted home decor DIYs can be completed with a basic screwdriver, some sandpaper, a paintbrush, and good glue.
Conclusion
Upgrading your living or study space does not require a massive budget. By embracing these thrifted home decor DIYs, you can achieve a sophisticated, organized, and deeply personal environment. From textured vases to upcycled desk organizers, each project offers a straightforward way to add value and comfort to your home.
Ready to transform your space? Grab some sandpaper, visit your local thrift store this weekend, and start your first project today. Your beautifully curated home is just a few simple steps away!